In this comprehensive guide, you will learn the essential steps to properly maintaining your air conditioning unit as a beginner. By following these simple yet effective maintenance tasks, you can ensure that your A/C system runs smoothly and efficiently, prolonging its lifespan and saving you money on costly repairs. From cleaning the filters to checking for leaks, this guide will walk you through everything you need to know to keep your A/C in top condition. Take control of your comfort and learn how to properly care for your air conditioning unit with this essential DIY A/C maintenance guide for beginners.
Your Essential DIY A/C Maintenance Guide for Beginners
Have you ever wondered how you can keep your air conditioning system running smoothly without having to call a professional every time? With the right knowledge and tools, you can perform basic maintenance tasks yourself to ensure your A/C unit stays in top shape. This comprehensive guide will walk you through the essential DIY maintenance steps for beginners.

This image is property of pixabay.com.
Importance of Regular A/C Maintenance
Maintaining your air conditioning system is crucial to its overall performance and longevity. By performing regular maintenance tasks, you can prevent costly repairs and extend the life of your A/C unit. Neglecting maintenance can lead to decreased efficiency, higher energy bills, and potential breakdowns.
It’s important to keep in mind that proper maintenance can also improve the air quality in your home, as a clean A/C unit helps filter out dust, pollen, and other allergens. Ultimately, regular maintenance not only saves you money in the long run but also ensures a comfortable and healthy indoor environment.
Tools and Materials You’ll Need
Before you begin any A/C maintenance tasks, it’s essential to have the right tools and materials on hand. Here’s a list of items you’ll need to get started:
- Screwdriver set
- Coil fin comb
- Vacuum with soft brush attachment
- Rags
- Gloves
- Replacement air filters
- Condensate line cleaner
- Bleach or vinegar
- Lubricant for motors (if necessary)
Having these tools readily available will make your DIY maintenance tasks much easier and more efficient.
Cleaning or Replacing Air Filters
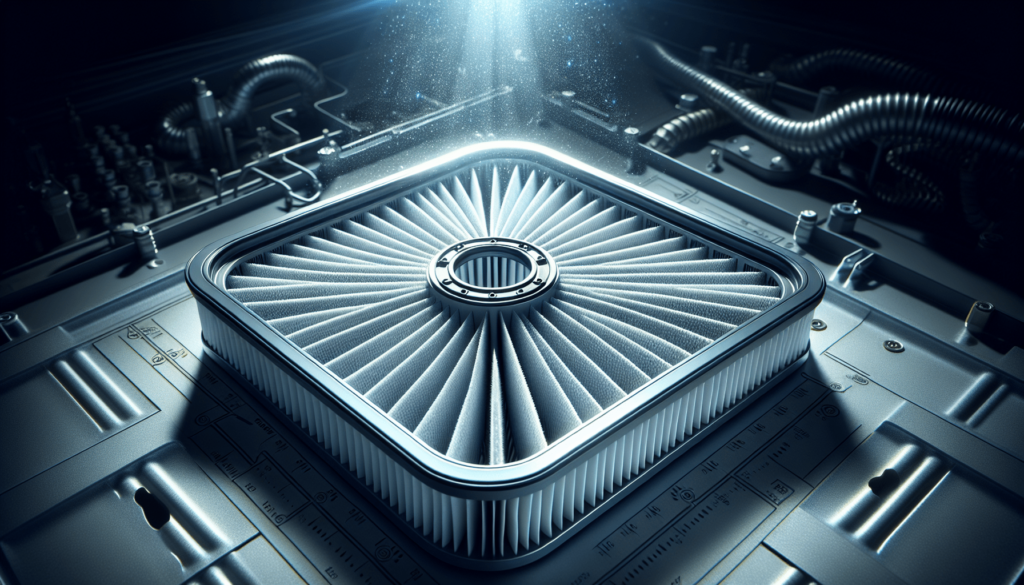
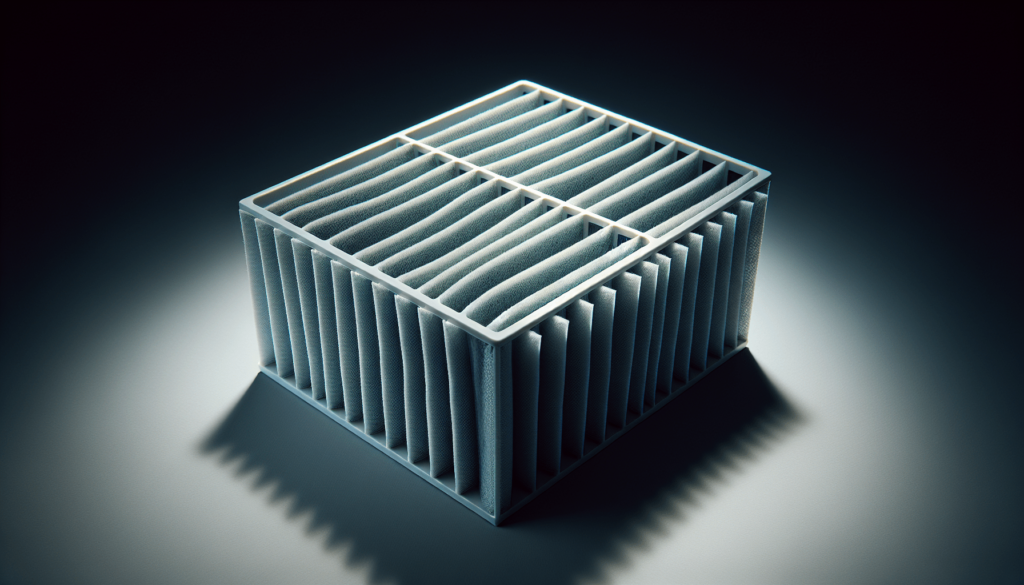
One of the most critical maintenance tasks for your A/C unit is cleaning or replacing the air filters regularly. A dirty or clogged filter can restrict airflow, reduce efficiency, and even cause your system to freeze up. Here’s how you can clean or replace the air filters in your A/C unit:
- Locate the air filters: Depending on your A/C unit, the air filters can be found on the indoor unit (typically near the return air duct).
- Remove the filters: Use a screwdriver to loosen the fasteners and take out the filters.
- Inspect the filters: Check for any visible dirt, dust, or debris. If the filters are reusable, you can clean them with water and mild soap.
- Replace the filters (if necessary): If the filters are disposable or in poor condition, it’s best to replace them with new ones.
- Reinstall the filters: Once clean or replaced, securely place the filters back in the unit.
By regularly cleaning or replacing your air filters, you can improve airflow, enhance system efficiency, and ensure better indoor air quality.
Cleaning the Outdoor Unit
The outdoor unit of your air conditioning system plays a crucial role in releasing heat from your home. To keep it functioning optimally, you need to clean it regularly. Here’s how you can clean the outdoor unit:
- Turn off the power: Before starting any cleaning tasks, make sure to switch off the power to the outdoor unit.
- Remove debris: Use a coil fin comb or a soft brush to gently remove any debris, dirt, leaves, or grass clippings from the coils.
- Clean the coils: Carefully vacuum the coils using a soft brush attachment to remove any remaining dirt or dust.
- Trim vegetation: Ensure there’s a clearance of at least two feet around the outdoor unit to allow proper airflow.
- Straighten coil fins (if necessary): Use a fin comb to straighten any bent fins for better airflow.
Regularly cleaning the outdoor unit will help maintain proper airflow, prevent overheating, and ensure efficient cooling performance.

This image is property of pixabay.com.
Cleaning the Condensate Drain Line
The condensate drain line is responsible for removing excess moisture from the A/C unit. Over time, algae, mold, and other debris can accumulate in the drain line, leading to clogs and potential water damage. Here’s how you can clean the condensate drain line:
- Locate the drain line: The condensate drain line is usually located near the indoor unit and connected to a drain pan.
- Inspect for clogs: Check for any visible clogs or buildup in the drain line.
- Flush the drain line: Use a condensate line cleaner or a mixture of bleach and water to flush out any blockages.
- Alternative cleaning method: You can also pour a mixture of vinegar and water down the drain line to dissolve any mold or algae.
- Repeat the process: Regularly clean the condensate drain line to prevent future clogs and water damage.
By keeping the condensate drain line clean, you can prevent water leaks, mold growth, and potential damage to your A/C system.
Checking and Adjusting Thermostat Settings
The thermostat is the control center of your air conditioning system, regulating the temperature and ensuring optimal comfort. Checking and adjusting the thermostat settings is an essential maintenance task. Here’s how you can do it:
- Inspect the thermostat: Check for any dust or debris around the thermostat that may affect its accuracy.
- Replace the batteries (if necessary): If your thermostat operates on batteries, replace them regularly to prevent malfunctions.
- Calibrate the thermostat: Use a separate thermometer to check the accuracy of the thermostat readings and adjust if needed.
- Adjust the settings: Set the thermostat to the desired temperature for optimal comfort and energy efficiency.
By regularly checking and adjusting the thermostat settings, you can ensure your A/C system operates efficiently and maintains a comfortable indoor environment.

This image is property of pixabay.com.
Lubricating Moving Parts (If Applicable)
Some A/C units have moving parts that require lubrication to reduce friction and maintain smooth operation. If your system has motors or other moving components, it’s essential to lubricate them regularly. Here’s how you can lubricate the moving parts:
- Turn off the power: Before lubricating any moving parts, make sure to switch off the power to the A/C unit.
- Locate the motor or moving parts: Identify the components that require lubrication, such as motors, bearings, or pulleys.
- Use the appropriate lubricant: Choose a lubricant specifically designed for HVAC systems and apply a few drops to the moving parts.
- Check the manufacturer’s recommendations: Refer to the A/C unit’s manual for specific guidelines on lubricating moving parts.
Regularly lubricating the moving parts of your A/C system can reduce wear and tear, prevent breakdowns, and extend the lifespan of the components.
Inspecting and Cleaning the Evaporator Coils
The evaporator coils in your air conditioning system are responsible for absorbing heat from the indoor air. Over time, the coils can accumulate dirt and debris, hindering the heat exchange process. Here’s how you can inspect and clean the evaporator coils:
- Access the coils: Locate the access panel on the indoor unit to reach the evaporator coils.
- Inspect for dirt and debris: Check for any visible dirt, dust, or debris on the coils that may obstruct airflow.
- Clean the coils: Gently brush off any dirt or debris using a soft brush or a vacuum with a brush attachment.
- Use coil cleaner (if necessary): For stubborn dirt or buildup, you can use a commercial coil cleaner following the manufacturer’s instructions.
- Reassemble the unit: Once clean, securely reassemble the access panel of the indoor unit.
Regularly inspecting and cleaning the evaporator coils will improve the efficiency of your A/C system, enhance cooling performance, and prolong its lifespan.

Checking the Refrigerant Levels
Refrigerant is essential for the cooling process in your air conditioning system. Low refrigerant levels can lead to inefficient cooling, increased energy consumption, and potential compressor damage. Here’s how you can check the refrigerant levels:
- Hire a professional: Checking refrigerant levels is a complex task that requires specialized equipment and expertise. It’s best to hire a licensed HVAC technician to inspect and recharge the refrigerant if needed.
By having a professional inspect the refrigerant levels in your A/C system, you can ensure optimal cooling performance and prevent costly repairs.
Conclusion
Maintaining your air conditioning system doesn’t have to be a daunting task, especially with the right knowledge and tools at your disposal. By following this essential DIY A/C maintenance guide for beginners, you can keep your A/C unit running smoothly, efficiently, and effectively. Remember, regular maintenance is key to prolonging the lifespan of your A/C system, improving indoor air quality, and ensuring a comfortable home environment. Start implementing these maintenance tasks today and reap the benefits of a well-maintained air conditioning system.


