When the sweltering heat of summer descends, a reliable air conditioning system becomes an essential ally in maintaining comfort within our homes. Mini split air conditioners, known for their efficiency and ease of installation, have become a popular choice for many. However, even the most advanced technology can encounter hiccups during installation. Whether you’re a seasoned DIY enthusiast or a first-time installer, navigating the ins and outs of these systems can sometimes feel overwhelming. In this article, we delve into the most common installation issues that can arise with mini split AC units, offering practical solutions and troubleshooting tips to ensure that you can enjoy a cool, comfortable atmosphere without a hitch. Join us as we illuminate the path to a successful installation, helping you sidestep the common pitfalls and embrace the refreshing relief of a well-functioning air conditioning system.
Understanding the Basics of Mini Split AC Systems
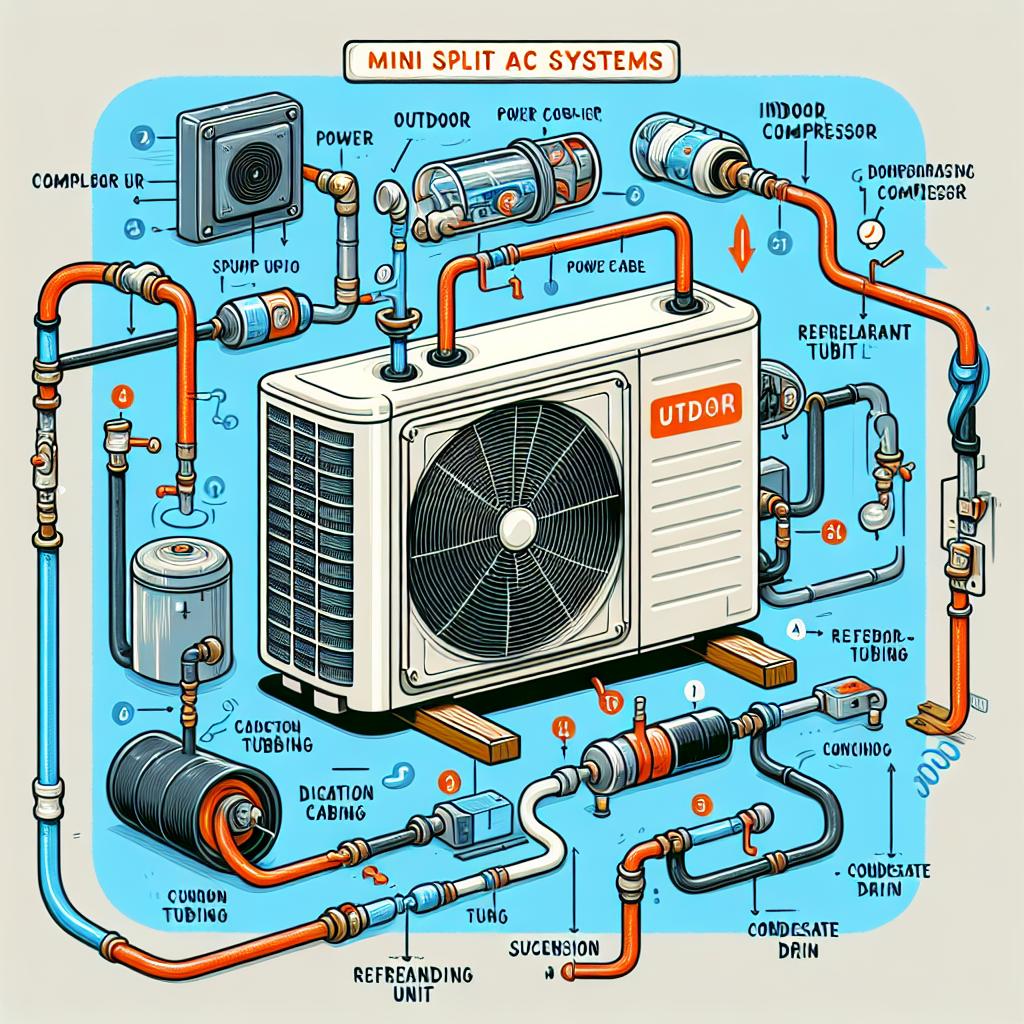
Mini split AC systems, often referred to as ductless systems, consist of two main components: an indoor air-handling unit and an outdoor compressor. This separation allows for flexibility in installation, as the indoor unit can be mounted high on a wall or even suspended from the ceiling, while the outdoor unit can be placed discreetly outside the home. The systems operate using refrigerant to transfer heat, providing cooling or heating as needed. This is beneficial for homes without existing ductwork, allowing for cooling solutions in specific rooms or zones, which can enhance energy efficiency and comfort.
One of the common installation issues with mini split systems is improper placement of the indoor and outdoor units. If the outdoor unit is installed too close to walls or other obstructions, it can restrict airflow, leading to suboptimal performance. Additionally, inadequate insulation of refrigerant lines can cause energy waste and impact system efficiency. To ensure effective operation, consider the following key installation tips:
- Optimize Unit Placement: Ensure both units are installed with sufficient space around them for airflow.
- Check for Proper Drainage: Indoor units must have a clear drainage path to prevent water accumulation.
- Verify Electrical Connections: Ensure all wiring meets local codes to prevent electrical issues.

Identifying Frequent Installation Challenges
When installing a mini split AC, there are several challenges that even experienced installers may face. These issues often stem from inadequate preparation and a lack of awareness regarding the specifics of the installation process. For instance, issues such as inaccurate measurements can lead to improper placement of indoor and outdoor units. The mounting bracket may not align with the necessary clearance requirements, resulting in poor performance or even damage over time. Other frequent hurdles include:
- Poor electrical connections that can hinder functionality.
- Improper refrigerant line insulation, leading to energy loss.
- Blocked condensate drains, causing water leakage and mold growth.
Furthermore, the complexity of the mini split design itself can contribute to installation challenges. Many homeowners overlook the logistical aspects, such as the need for adequate access points for maintenance and the necessary tools for installation. This inconsistency in planning can lead to the following common mishaps:
| Challenge | Impact |
|---|---|
| Insufficient electrical supply | System may not operate efficiently. |
| Lack of drainage slope | Increased risk of water damage. |
| Environmental factors | Compromised unit performance. |

Effective Solutions for Common Installation Mistakes
Common installation mistakes can lead to frustrating issues with your mini split AC system, but the good news is that most of them have effective solutions. One frequent error is incorrect placement of the indoor unit, which can negatively impact airflow. To ensure optimal performance, consider the following tips:
- Aim for a central location: Install the unit in a spot that allows for even air distribution throughout the space.
- Avoid obstructions: Ensure that there are no furniture or decor items blocking the airflow.
- Check for level installation: Use a level tool to ensure the unit is perfectly level, as tilting can affect drainage and efficiency.
Another issue often encountered is improper refrigerant line setup. This can lead to reduced efficiency and even system damage. To avoid problems, keep these installation practices in mind:
| Best Practices for Refrigerant Lines | Common Mistakes |
|---|---|
| Ensure proper insulation | Leaving refrigerant lines exposed |
| Minimize bends and loops in the lines | Creating unnecessary twists |
| Maintain correct slope for drainage | Ignoring proper drainage angles |
Ensuring Optimal Performance Through Proper Setup
Achieving the best performance from your mini split AC unit begins with a meticulous setup process. Proper placement of the indoor and outdoor units is crucial to ensure efficient airflow and temperature regulation. Here are key considerations to keep in mind during installation:
- Indoor Unit Positioning: Select a location that allows for unobstructed airflow, ensuring the unit is not too close to walls or furniture.
- Outdoor Unit Location: Place the outdoor unit in a shaded area to prevent overheating and ensure it is elevated enough to allow for proper drainage.
- Pipe Length and Insulation: Limit the distance between the indoor and outdoor units, and ensure all refrigerant lines are well-insulated to minimize energy loss.
Additionally, the power supply is a critical aspect of setting up your mini split AC. An inadequate power supply can lead to operational inefficiencies and potential damage. Use the following guidelines to ensure a robust electrical setup:
| Component | Specifications |
|---|---|
| Breaker Size | Check manufacturer’s recommendations; typically 15-20 Amp |
| Wiring Type | Use 12-14 gauge copper wiring for optimal performance |
| Voltage Requirement | Ensure compatibility with the unit, usually 220-240V |
Q&A
Q: What are some common installation issues I might encounter when setting up a mini split AC system?
A: During installation, you might encounter problems such as improper mounting, incorrect refrigerant line connections, electrical wiring issues, or inadequate insulation. Each of these can lead to inefficiencies or even potential system malfunctions if not addressed properly.
Q: How can I avoid improper mounting of the indoor unit?
A: To ensure proper mounting, always follow the manufacturer’s guidelines for positioning and leveling the indoor unit. Make sure the wall surface is structurally sound and that the unit is firmly secured with the recommended hardware. If in doubt, consult professional installation services.
Q: What signs indicate that the refrigerant lines may be incorrectly connected?
A: If you notice that the system is not cooling as expected, or if there are unusual noises coming from the unit, it could indicate improper refrigerant line connections. Additionally, if you see ice forming on the evaporator coil or experience refrigerant leaks, these are strong indicators of connection issues.
Q: What are some common electrical wiring issues that can arise?
A: Common electrical issues include loose connections, wrong voltage supply, and improper grounding. Always ensure that the electrical system meets the specifications required for the mini split AC, and consider hiring a licensed electrician if you’re not confident in your electrical work.
Q: How can inadequate insulation affect my mini split AC system?
A: Inadequate insulation can lead to significant energy loss, causing your mini split system to work harder than necessary to maintain the desired temperature. This not only affects efficiency but can also lead to increased wear and tear on the unit. Make sure all refrigerant lines are properly insulated before finalizing the installation.
Q: What troubleshooting steps should I take if my mini split AC isn’t cooling properly?
A: Start by checking the remote control settings and ensuring the unit is in cooling mode. Next, inspect the air filters for dust or debris, as dirty filters can impede airflow. verify that the outdoor unit is not obstructed and has enough space for airflow. If the problem persists, it may be time to check for refrigerant issues or contact a professional.
Q: Should I attempt to fix installation issues myself, or is it better to call a professional?
A: If you’re experienced with HVAC systems and feel comfortable troubleshooting the issues, you may attempt to resolve minor installation problems. However, for complex issues or if you’re unsure about any step, it’s always best to call a professional. Incorrect handling can lead to more significant problems down the line and potentially void your warranty.
Q: How often should I have my mini split AC inspected after installation?
A: It’s recommended to have your mini split AC inspected annually. Regular maintenance checks can help catch potential issues early, ensuring smooth operation throughout the cooling season. Additionally, keeping an eye on air filters and cleaning them monthly can significantly enhance performance.
—
Feel free to reach out with any more questions, and keep your cool with a properly installed mini split AC!
Closing Remarks
As we conclude our journey through the world of mini split AC installation troubleshooting, it’s clear that while the process can sometimes be fraught with challenges, many of these issues are manageable with the right tools, knowledge, and approach. Whether you’re tackling inadequate cooling, unusual noises, or electrical concerns, understanding the common hiccups can empower you to take action confidently.
Remember, the key to a smooth installation lies in preparation and ongoing maintenance. By equipping yourself with insight and recognizing potential pitfalls, you’ll not only enhance the efficiency of your mini split system but also extend its lifespan, ensuring refreshing comfort for years to come.
So, as you embark on your installation endeavor or perhaps revisit an existing setup, carry forth this newfound clarity. Stay patient, keep troubleshooting, and soon enough, you will revel in the cool oasis that your mini split AC can provide. Here’s to a successful installation and an enjoyable, climate-controlled environment!

