In today’s article, you will discover the ultimate guide to effectively prevent common A/C problems. By following these top ways, you can ensure that your air conditioning unit functions smoothly and efficiently, minimizing the likelihood of breakdowns and costly repairs. With the summer heat approaching, it is crucial to be proactive in maintaining your A/C system to keep it running at its peak performance. Find out how you can save time, money, and avoid the frustration of dealing with common A/C issues by implementing these preventative measures.
This image is property of eviyiep5c9i.exactdn.com.
Understanding the Basics of A/C Operation
The Purpose and Function of an Air Conditioner
Air conditioners (A/C) are appliances designed to provide cool air and regulate indoor temperature. They play a vital role in enhancing comfort and creating a favorable indoor environment, especially during hot weather. A/Cs work by removing heat and humidity from the air, resulting in a cooler and more comfortable atmosphere.
Basic Components of an Air Conditioning Unit
An air conditioning unit consists of several essential components that work together to cool the air. The key components include a compressor, condenser, expansion valve, and evaporator coil. The compressor is responsible for pressurizing and circulating the refrigerant, while the condenser is responsible for releasing heat from the refrigerant. The expansion valve controls the flow of the refrigerant, and the evaporator coil absorbs heat from the air.
How the A/C Cycle Works
The A/C cycle begins when the refrigerant, in its gaseous state, is compressed by the compressor. As the refrigerant is pressurized, its temperature rises. The hot refrigerant then flows into the condenser, where it releases heat and turns into a high-pressure liquid. The high-pressure liquid then passes through the expansion valve, where its pressure is reduced. This causes the refrigerant to evaporate and absorb heat from the surrounding air. The cool air is then distributed into the space through the evaporator coil. The process repeats until the desired indoor temperature is achieved.
Importance of Regular Maintenance
Regular maintenance is crucial for ensuring the optimal performance and longevity of your air conditioning unit. By scheduling routine maintenance, you can prevent potential problems, identify issues early on, and maintain the efficiency of your A/C system. Regular maintenance includes tasks such as cleaning or replacing filters, checking coolant levels, inspecting electrical components, and lubricating moving parts. By investing in regular maintenance, you can avoid costly repairs and extend the lifespan of your A/C unit.
Recognizing Common A/C Problems
Reduced Cooling Efficiency
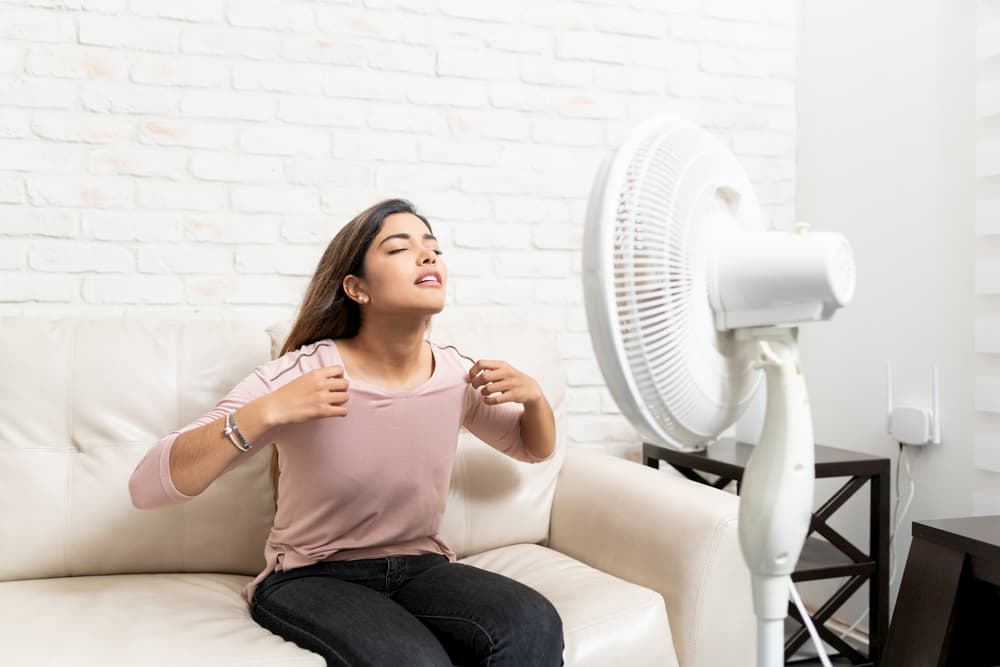
One common A/C problem is reduced cooling efficiency. This can manifest as the air conditioner taking longer than usual to cool the space or not reaching the desired temperature at all. Reduced cooling efficiency can be caused by a variety of factors, including outdated or improperly sized equipment, dirty filters, blocked vents, or refrigerant leaks. If you notice a decline in cooling performance, it is essential to address the issue promptly to avoid further damage and discomfort.
Strange Noises
Unusual noises coming from your air conditioning unit can indicate underlying problems. Common noises include grinding, buzzing, rattling, or squealing sounds. These noises could signify issues with the motor or fan, loose components, or debris trapped inside the unit. Ignoring strange noises can lead to further damage or system failure. It is recommended to contact a professional technician to diagnose and resolve the issue promptly.
Odd Smells from the A/C Unit
If you detect musty, pungent, or burning smells coming from your air conditioner, it is crucial to address the issue promptly. Strange smells can indicate mold or mildew growth, burnt wiring, or overheating components. Inhaling these odors can be harmful to your health and may indicate a potential fire hazard. It is advisable to turn off the unit and seek professional assistance to identify and resolve the source of the odor.
Water Leaks from the A/C
Water leaks from the air conditioning unit should not be ignored as they can cause significant damage to your property. Leaks may occur due to clogged or damaged condensate drain lines, frozen coils, or excessive humidity. If you notice water pooling around the unit or dripping from the ceiling, it is crucial to turn off the system and contact a professional technician to diagnose and repair the issue.
A/C Does Not Turn On or Off
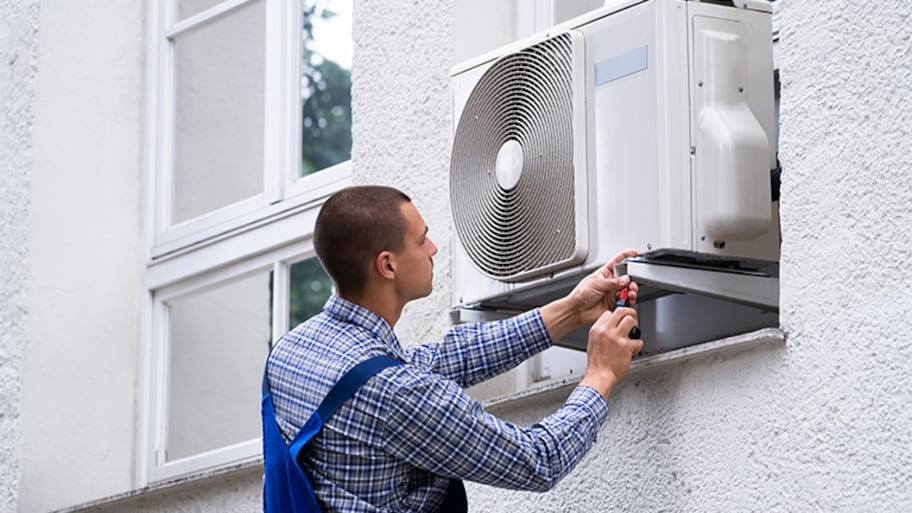
If your air conditioner fails to turn on or off, it can be a frustrating and inconvenient problem. This issue can be caused by various factors, including a malfunctioning thermostat, faulty electrical connections, or a malfunctioning compressor. Attempting to fix these problems without proper knowledge and expertise can be dangerous. It is recommended to contact a professional technician to accurately diagnose and resolve the issue to restore the functionality of your A/C system.
This image is property of media.angi.com.
Replacing HVAC Filters Regularly
Significance of a Clean HVAC Filter
The HVAC filter plays a vital role in maintaining good indoor air quality and the overall performance of your air conditioning system. Its primary function is to capture and remove dust, dirt, pollen, and other airborne particles. Over time, the filter can become clogged and dirty, reducing airflow and straining the system. A clean and properly functioning filter not only improves air quality but also enhances cooling efficiency and prolongs the lifespan of your A/C unit.
How to Change your HVAC Filter
Changing your HVAC filter is a simple yet essential maintenance task that should be done regularly. Start by turning off your air conditioning system to prevent any airflow during the replacement process. Locate the filter, which is typically found near the air intake vent or in the furnace unit. Remove the old filter and dispose of it properly. Insert the new filter, ensuring it is properly aligned and securely in place. Finally, turn on your system and monitor its performance to ensure that the new filter is functioning effectively.
Finding the Right Replacement Filter
When selecting a replacement filter for your HVAC system, it is important to choose the correct type and size. Consider factors such as the MERV rating, which indicates the filter’s efficiency, and the dimensions that fit your unit. Consult the manufacturer’s recommendations or seek advice from a professional HVAC technician to ensure you select a filter that best suits your system’s requirements.
Frequency of Filter Changes
The frequency of filter changes depends on various factors, including the type of filter, the number of occupants in the space, and environmental conditions. As a general guideline, it is recommended to replace disposable filters every 1 to 3 months, while washable filters should be cleaned every 1 to 3 months. However, it is best to refer to the manufacturer’s recommendations or consult with an HVAC professional to determine the ideal frequency for your specific system.
Cleaning and Maintaining the Outside Unit
Importance of Routinely Cleaning the Outside Unit
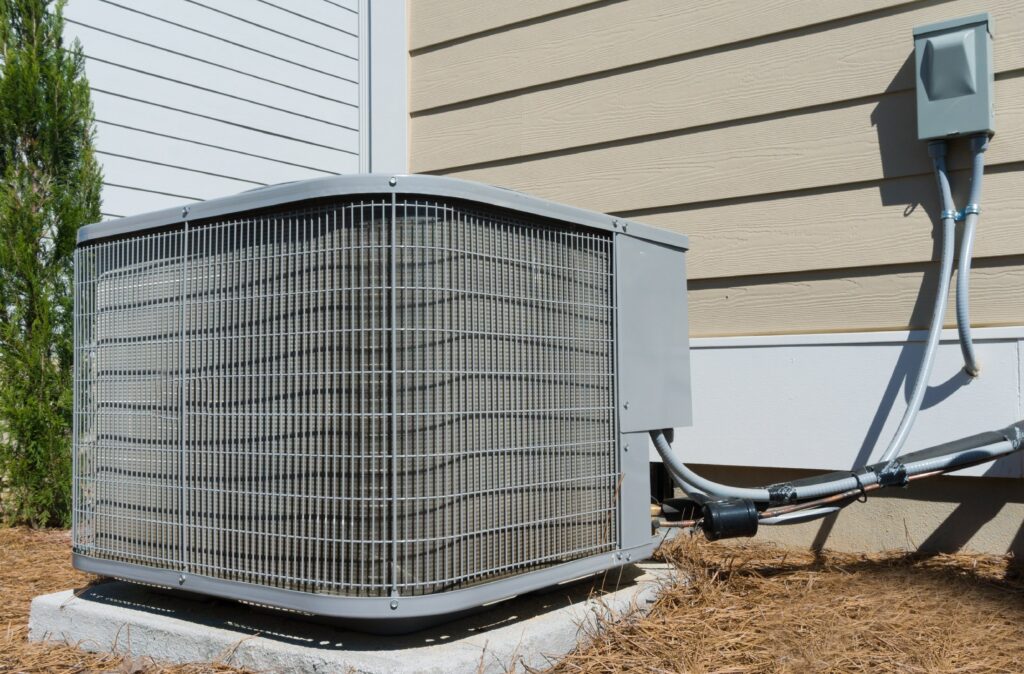
Regular cleaning of the outside unit, also known as the condenser unit, is crucial for maintaining the efficiency and longevity of your air conditioning system. The condenser unit is exposed to outdoor elements such as dust, dirt, leaves, and debris, which can accumulate and hinder its performance. Regular cleaning not only improves airflow but also reduces strain on the system, enhances cooling efficiency, and prevents potential damage.
Proper Techniques for Cleaning
When cleaning the outside unit, it is important to follow proper techniques to ensure effective and safe maintenance. Start by turning off the power to the unit to prevent any accidental injuries. Clear any visible debris such as leaves or sticks from the unit using a brush or soft cloth. Gently rinse the unit with a hose, being cautious not to apply excessive water pressure, which could damage the fins. Avoid using any harsh chemicals or abrasive materials that could cause damage.
Removing Debris, Leaves, and Other Obstructions
Regularly removing debris, leaves, and other obstructions from the outside unit is crucial for maintaining optimal performance. Trim any vegetation or shrubs near the unit to ensure proper airflow and prevent blockages. Avoid placing any objects or structures that could obstruct the unit or hinder ventilation. By keeping the unit clean and free from obstructions, you can maximize cooling efficiency and reduce the risk of potential problems.
Checking for Damage or Wear
While cleaning the outside unit, it is important to inspect it for any signs of damage or wear. Look for bent or damaged fins, loose or disconnected electrical connections, or any other visible issues. If you notice any significant damage or suspect a potential problem, it is advisable to contact a professional technician to evaluate and address the issue before it escalates.
This image is property of cdn2.hubspot.net.
Checking Coolant Levels
The Role of Coolant in the A/C System
Coolant, also known as refrigerant, is a vital component of the air conditioning system. It is responsible for absorbing and releasing heat, enabling the cooling process. As the coolant circulates through the A/C system, it changes from a gaseous to a liquid state and back, absorbing heat from the indoor air and releasing it outdoors. Proper coolant levels are essential for the efficient operation of the A/C system and maintaining optimal cooling performance.
Identifying Low Coolant Levels
Low coolant levels can negatively impact the performance of your air conditioning system. Signs of low coolant levels include reduced cooling capacity, uneven cooling, longer cooling cycles, or the A/C system constantly running. If you notice any of these symptoms, it is crucial to have a professional technician assess and replenish the coolant levels to optimize system performance.
How to Safely Check Coolant Level
Checking coolant levels should only be done by a qualified HVAC technician due to the specialized equipment and expertise required. They will use gauges and meters to measure the pressure and temperature of the coolant, ensuring accurate readings. If there is a suspected coolant leak or low levels, the technician will be able to identify the source and address it accordingly.
Adding Coolant when Necessary
If a professional technician determines that your A/C system has low coolant levels, they will take the necessary steps to add coolant. This process, known as recharging or topping off, should only be performed by a trained professional. They will reclaim any remaining refrigerant, fix any leaks, and carefully add the appropriate amount of coolant to restore optimal levels. It is important not to add refrigerant yourself, as it requires specialized knowledge and equipment.
Properly Sizing and Placing Your A/C Unit
Determining the Correct Size for Your Space
Properly sizing your air conditioning unit is essential for maintaining optimal cooling efficiency and comfort. An undersized unit will struggle to cool the space sufficiently, leading to increased energy consumption and reduced lifespan. Conversely, an oversized unit will cycle frequently, resulting in uneven cooling, humidity issues, and unnecessary wear and tear. To determine the correct size, factors such as the square footage, insulation levels, sun exposure, and the number of occupants must be considered. Consulting with a professional HVAC technician will ensure accurate size calculations for your specific space.
Understanding BTUs and Energy Efficiency
British Thermal Units (BTUs) are a measurement used to quantify the cooling capacity of an air conditioning unit. The higher the BTU rating, the greater the cooling capacity. However, it is important to strike a balance between cooling capacity and energy efficiency. Units with high BTU ratings may consume more energy than necessary, resulting in higher utility bills. Look for units with high Energy Efficiency Ratio (EER) or Seasonal Energy Efficiency Ratio (SEER) ratings to ensure efficient cooling performance while minimizing energy consumption and costs.
Ideal Placement for Your A/C Unit
The placement of your A/C unit can significantly impact its performance and energy efficiency. It is recommended to place the unit on the shadier side of the house or in an area that receives minimal direct sunlight. This helps prevent the unit from overheating and reduces the workload. Additionally, ensure proper clearance around the unit to allow for adequate airflow and facilitate easy maintenance and servicing. Avoid placing the unit near heat sources or obstructions that may impede ventilation.
Avoiding Sunlight and Heat Sources
Direct exposure to sunlight and heat sources can adversely affect the performance and efficiency of your air conditioning unit. Sunlight can increase the temperature of the unit, causing it to work harder and consume more energy. Similarly, placing the unit near heat-emitting appliances or sources such as lamps or electronics can lead to increased heat intake. By avoiding direct sunlight and heat sources, you can help your A/C unit operate more efficiently and prevent unnecessary strain on the system.
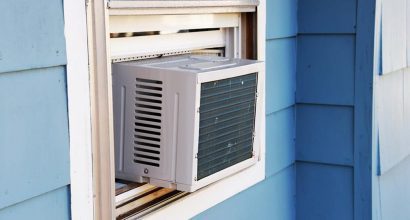
This image is property of americanconditionedair.com.
Scheduling Regular Professional Inspections
Importance of Regular Professional Check-ups
Regular professional inspections are crucial for maintaining the optimal performance and reliability of your air conditioning system. Trained HVAC technicians can identify and address potential issues early on, preventing them from escalating into more significant problems. Professional inspections can also help maximize energy efficiency, prolong the lifespan of your A/C unit, and ensure that it operates safely and effectively.
What to Expect During an A/C Inspection
During an A/C inspection, a professional technician will thoroughly assess various components and systems of your air conditioning unit. This includes checking electrical connections, inspecting refrigerant levels, cleaning or replacing filters, lubricating moving parts, and testing system controls. The technician will also look for any signs of wear, damage, or potential issues that may require attention.
Understanding the Inspection Report
After completing the inspection, the technician will provide you with an inspection report detailing their findings and any recommendations for repairs or maintenance. The report may include information regarding the condition of components, system efficiency, and any potential concerns that could impact performance or safety. It is important to review the report carefully, ask any questions you may have, and follow the technician’s recommendations for addressing identified issues.
Planning Regular Inspections
To ensure the continued performance and reliability of your air conditioning system, it is advisable to schedule regular professional inspections. The frequency of inspections can vary depending on factors such as the age of the system, manufacturer recommendations, and usage patterns. In general, it is recommended to have your A/C unit inspected at least once a year. However, older systems or units subject to heavy usage may benefit from more frequent inspections. Consult with a professional HVAC technician to develop a maintenance plan that suits your specific needs and ensures optimal system performance.
Sealing and Insulating Ductwork
Understanding the Role of Ductwork in A/C Performance
Ductwork plays a crucial role in the performance and efficiency of your air conditioning system. It is responsible for distributing the conditioned air throughout your home. However, leaks or poor insulation in the ductwork can result in energy loss, reduced cooling efficiency, and compromised indoor air quality. Properly sealing and insulating the ductwork helps ensure optimal performance, minimize air leaks, and maintain consistent cooling throughout your space.
Detecting Air Leaks in Ductwork
Detecting air leaks in ductwork can be challenging as the leaks are often hidden or difficult to access. Common signs of air leaks include uneven cooling, excessive dust or debris near vents, or high energy bills. If you suspect air leaks, you can perform a simple visual inspection by checking for visible gaps, loose connections, or disconnected sections. However, it is advisable to seek professional assistance for a more thorough inspection using specialized equipment such as smoke pencils or infrared cameras to detect hidden leaks accurately.
Properly Sealing and Insulating Ductwork
Properly sealing and insulating ductwork requires specialized knowledge and expertise. In most cases, it is best to hire a professional HVAC technician to perform this task. They will assess the condition of your ductwork, identify any air leaks, and apply appropriate sealing materials such as mastic or metal tape to seal the leaks. Insulating the ductwork with insulation materials helps prevent energy loss and maintain the desired temperature throughout the system.
Benefits of Efficient Ductwork
Efficient ductwork offers numerous benefits, including improved cooling efficiency, enhanced indoor comfort, and reduced energy consumption. Properly sealed and insulated ductwork ensures that cooled air reaches its intended destination without any leaks or obstructions. This results in more consistent cooling, eliminating hot or cold spots in your space. Efficient ductwork also helps reduce wear and tear on your A/C system, extend its lifespan, and lower your energy bills.
This image is property of s7d1.scene7.com.
Regularly Testing Thermostat Settings
Importance of Correct Thermostat Settings
Correct thermostat settings are essential for maintaining optimal comfort and energy efficiency in your home. By properly setting the thermostat, you can ensure that your air conditioning system operates efficiently and provides the desired temperature. Setting your thermostat too low can lead to unnecessary energy consumption, while setting it too high may result in discomfort. Understanding and adjusting the thermostat settings according to your preferences and the current weather conditions can help optimize your A/C system’s performance.
How to Test the Thermostat
To test your thermostat, start by setting the desired temperature lower than the current room temperature. Wait for a few minutes and listen for the sound of the air conditioner turning on. Feel the air coming from the vents to ensure that it is cool. If the air conditioner does not turn on, it could indicate a problem with the thermostat or another component of the A/C system. It is advisable to consult a professional technician to diagnose and address the issue effectively.
Troubleshooting Thermostat Problems
If you encounter thermostat problems such as inaccurate temperature readings, unresponsive controls, or erratic behavior, there are a few troubleshooting steps you can take. Start by checking the thermostat’s power source, ensuring it is properly connected and has fresh batteries if applicable. Clean the thermostat’s sensors and vents to ensure accurate readings. If the problem persists, consult with a professional technician to diagnose and resolve any underlying issues with the thermostat or the A/C system.
When to Replace Your Thermostat
Thermostats typically have a lifespan of around 10 years. However, there are certain situations that may warrant a thermostat replacement before its expected lifespan. If you are experiencing persistent issues with your thermostat, frequent inaccuracies, or if you are looking to upgrade to a more advanced and energy-efficient model, it may be time to consider a replacement. Consult with a professional HVAC technician to determine the best thermostat option for your specific needs and ensure proper installation.
Planning A/C System Upgrade
Knowing When it’s Time to Upgrade
Knowing when it is time to upgrade your air conditioning system is crucial for maintaining energy efficiency, reliability, and comfort. Several factors can indicate that an upgrade is necessary, including frequent breakdowns, rising energy bills, uneven cooling, or a unit that is more than 10-15 years old. Additionally, advancements in technology and energy-efficient models may entice homeowners to invest in a newer, more efficient system. If you are experiencing any of these signs or considering an upgrade, consult with a professional HVAC technician to assess your options.
Choosing Between Repair and Replacement
When faced with A/C issues, homeowners must make the decision between repairing or replacing their system. Minor repairs, such as replacing a faulty component or repairing a leak, may be cost-effective and sufficient for restoring system functionality. However, if the system is experiencing multiple breakdowns, has significant internal damage, or is highly inefficient, replacement may be the more practical and cost-effective option in the long run. Consult with a professional technician to evaluate the condition of your system and provide an expert recommendation.
Finding Energy-Efficient A/C System
When choosing a new air conditioning system, energy efficiency should be a top priority. Look for systems with high Seasonal Energy Efficiency Ratio (SEER) ratings, which indicate their energy efficiency. The higher the SEER rating, the more efficient the system. Energy-efficient systems not only reduce energy consumption and environmental impact but also lead to long-term cost savings through lower utility bills. Additionally, consider systems with features such as variable speed motors, programmable thermostats, and advanced filtration for improved comfort and indoor air quality.
Installation and Maintenance for a New A/C System
Proper installation and ongoing maintenance are vital for the performance, efficiency, and longevity of your new air conditioning system. Improper installation can lead to issues such as reduced cooling capacity, energy inefficiency, and increased wear on components. It is advisable to hire a professional HVAC technician with experience in installing the specific type and model of A/C system you have chosen. Additionally, develop a routine maintenance plan that includes tasks such as regular filter changes, inspections, and cleaning to ensure optimal performance and reliability of your new system.

