If you’re experiencing issues with your mini-split AC system, fret not! This article is here to help you troubleshoot and fix common problems that may arise. Whether it’s a lack of cooling, unusual noises, or issues with the remote control, we’ve got you covered. By following these simple tips and techniques, you’ll be able to keep your mini-split AC system humming smoothly and comfortably in no time.
Understanding Your Mini-Split System
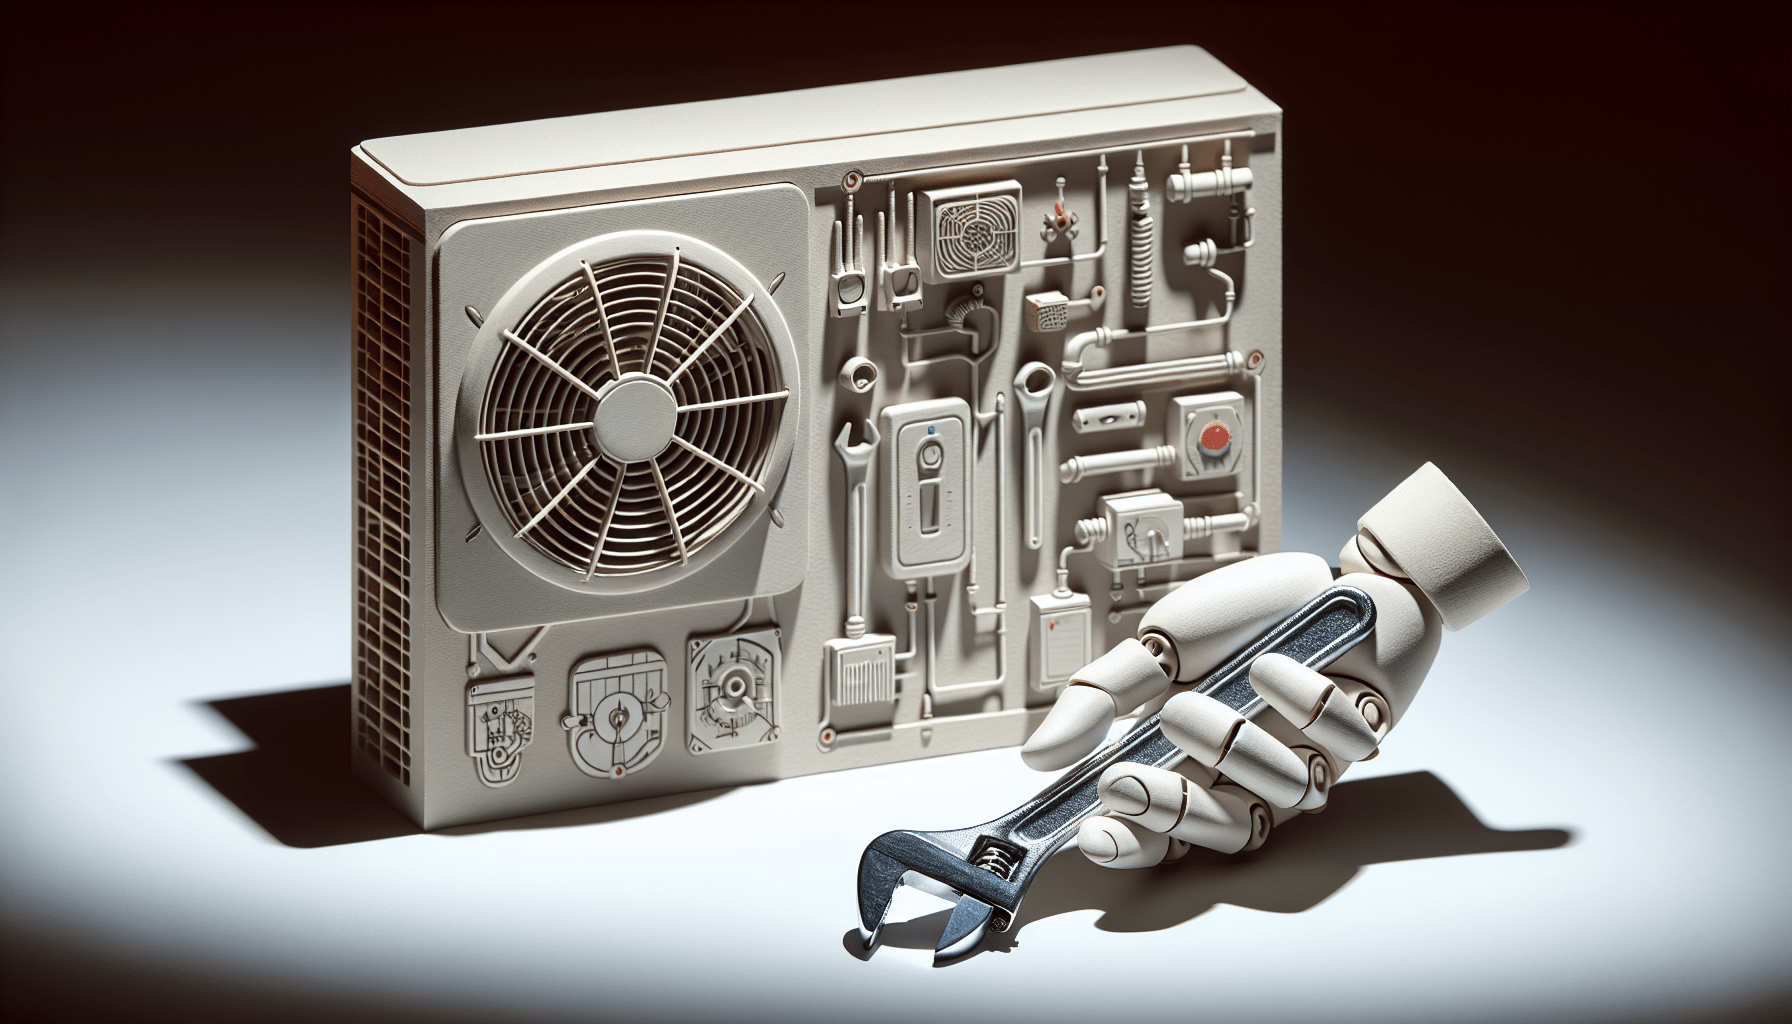
Overview of mini-split AC parts
When it comes to understanding your mini-split system, it’s important to familiarize yourself with its various parts. The main components of a mini-split AC system include the indoor unit, outdoor unit, refrigerant lines, and the remote control. The indoor unit contains the evaporator coil, air filters, and the fan, while the outdoor unit houses the condenser coil and compressor. The refrigerant lines connect these two units, allowing for the transfer of heat. The remote control allows you to conveniently control the temperature and settings of your mini-split AC system.
Understanding the common functionalities
To effectively troubleshoot and fix any issues with your mini-split AC system, it’s essential to have a good understanding of its common functionalities. Your mini-split AC system provides cooling, heating, and dehumidification options. The cooling mode uses the refrigerant cycle to remove heat from your indoor space and blow cool air, while the heating mode reverses the cycle to provide warmth. Additionally, the dehumidification mode helps reduce excess humidity in your home. Familiarizing yourself with these functionalities will greatly assist you in troubleshooting any problems you may encounter.
Mini-Split AC not Starting
Checking the power supply
If your mini-split AC system isn’t starting, the first thing to check is the power supply. Ensure that the unit is properly plugged into an electrical outlet and that the outlet is functioning correctly. If there is no power, check your circuit breaker to see if it has tripped. In some cases, the mini-split AC system may be connected to a dedicated circuit, so make sure that the circuit is not overloaded. If all seems to be well with the power supply, move on to the next step.
Examining the circuit breaker
When your mini-split AC system fails to start, it’s important to examine the circuit breaker for any issues. Check if the breaker for the AC unit has tripped and reset it if necessary. It’s worth noting that a tripped breaker may indicate an underlying problem with the electrical components of your AC system, so if it continues to trip frequently, it’s advisable to consult a professional.
Inspecting the remote control
Another potential reason for your mini-split AC system not starting could be an issue with the remote control. Verify that the batteries in the remote control are not dead and replace them if necessary. Additionally, check if there are any obstructions between the remote control and the indoor unit, as this can interfere with the signal transmission. If the remote control still doesn’t work, it may be time to consider getting a replacement.

Inefficient Cooling
Checking the air filters
If you notice that your mini-split AC system is not cooling your space efficiently, the air filters may be to blame. Over time, dust and debris can accumulate on the air filters, obstructing the airflow and reducing the system’s cooling efficiency. Check the air filters and clean or replace them if necessary. Cleaning the filters regularly is essential for maintaining the optimal performance of your mini-split AC system.
Evaluating refrigerant levels
Insufficient refrigerant levels can also lead to inefficient cooling in your mini-split AC system. If you suspect this may be the issue, it’s best to contact a professional HVAC technician to evaluate and recharge the refrigerant if necessary. Attempting to handle refrigerant-related issues without proper training and equipment can be dangerous, so it’s always advisable to seek professional assistance for this particular problem.
Inspecting outdoor unit for debris
Another potential cause of inefficient cooling in your mini-split AC system is an outdoor unit that is obstructed by debris. Over time, leaves, dirt, and other debris can accumulate around the outdoor unit, impeding the heat exchange process and reducing cooling efficiency. Regularly inspect the outdoor unit and clear away any debris to ensure optimal airflow and efficient cooling.
Water Leaks
Spotting the source of the leak
Noticing water leaks from your mini-split AC system can be concerning, but identifying the source of the leak is the first step towards addressing the issue. Check if the water is coming from the indoor unit or the outdoor unit. If it’s coming from the indoor unit, it could be due to a clogged condensate drain line or a malfunctioning condensate pump. If the water is coming from the outdoor unit, it may indicate a refrigerant leak. Identifying the exact source of the leak will help determine the appropriate solution.
Understanding the causes
Water leaks in a mini-split AC system can be caused by various factors. A clogged condensate drain line is a common culprit, as accumulated dirt or debris can obstruct the proper drainage of condensate. Another possible cause is a faulty condensate pump, which may fail to pump out the condensate effectively. Refrigerant leaks can also lead to water leaks, as they may cause ice buildup on the outdoor unit that eventually melts and drips. Understanding the causes of the water leaks will facilitate the troubleshooting process.
How to fix leaking issues
Fixing water leaks in your mini-split AC system depends on the specific cause. If the issue lies with a clogged condensate drain line, you can try clearing the blockage using a wet-dry vacuum or a thin, flexible brush. If the condensate pump is malfunctioning, it may need to be repaired or replaced. For refrigerant leaks, it’s crucial to contact a professional HVAC technician to identify and fix the leak, as handling refrigerant requires specialized knowledge and equipment.

Odd Noises from the Mini-Split AC
Identifying the types of sounds
If you notice unusual noises coming from your mini-split AC system, identifying the types of sounds can help pinpoint the underlying issue. Pay attention to the specific noises, such as buzzing, grinding, hissing, or rattling. Each sound can indicate a different problem, ranging from loose components to refrigerant leaks. By listening closely and understanding the types of sounds, you can better communicate the issue to a professional if necessary.
Determining the cause
Determining the cause of odd noises in your mini-split AC system can be challenging, especially if you’re not familiar with its internal components. Loose or worn-out fan blades, malfunctioning motor bearings, or refrigerant leaks can all contribute to these noises. While some issues can be easily resolved, others may require the expertise of an HVAC technician. If you’re unsure about the cause of the noises or if they persist, it’s best to seek professional assistance.
Effective solutions to stop the noises
To stop the odd noises from your mini-split AC system, there are a few effective solutions you can try. If the noise is caused by loose components, such as fan blades, you can tighten them to eliminate the noise. Lubricating the motor bearings can help if the noise is a result of malfunctioning bearings. However, for complex issues like refrigerant leaks or motor problems, it’s recommended to contact an HVAC professional, as these problems require specialized knowledge and equipment to fix properly.
Excessive Dust or Uneven Air Distribution
Understanding the reasons for dust
Excessive dust accumulation in your mini-split AC system can lead to reduced performance and poor air quality. Dust can accumulate on the air filters, evaporator coil, and other components, obstructing efficient airflow and causing strain on the system. The reasons for excessive dust can vary, but they often include factors such as improper filter maintenance, inadequate sealing of the unit, or the presence of dust-producing activities in the vicinity of the system. Understanding the reasons behind excessive dust will enable you to take appropriate measures to address the issue.
How to clean and maintain your AC
Proper cleaning and maintenance of your mini-split AC system are crucial for preventing excessive dust accumulation and ensuring optimal performance. Regularly clean or replace the air filters according to the manufacturer’s recommendations. Additionally, clean the evaporator coil, fan blades, and other accessible components using a soft brush or vacuum cleaner. Remember to turn off the system and disconnect the power before performing any cleaning. It’s also a good idea to schedule regular professional maintenance to address any hidden dust buildup and ensure proper system functioning.
Adjusting the fan speed or direction
If you’re experiencing uneven air distribution in your space, adjusting the fan speed or direction can help improve the airflow. In some mini-split AC systems, the fan speed can be adjusted to increase or decrease the air circulation. Experiment with different fan speed settings to find the one that provides the most comfortable and evenly distributed airflow. Additionally, some systems allow you to change the direction of the air vents manually. Adjusting the air vents to direct the airflow towards areas that need more cooling or heating can help achieve more balanced air distribution.
Remote Control not Functioning Properly
Replacing the batteries
If your mini-split AC system’s remote control is not functioning properly, the first thing to check is the batteries. Over time, the batteries can lose their charge, resulting in reduced functionality or complete failure of the remote control. Replace the batteries with a fresh set and ensure they are correctly inserted. Remember to remove the plastic tab or film on the battery before inserting it into the remote. If the remote control still doesn’t work after replacing the batteries, move on to the next step.
Checking the infrared sensor
Another common issue that may cause a remote control to malfunction is a problem with the infrared sensor on the indoor unit. The infrared sensor receives signals from the remote control and translates them into commands for the system. Make sure there are no obstructions blocking the sensor, such as furniture or dust. Clean the sensor gently with a soft cloth if it appears dirty or obstructed. If the infrared sensor seems to be functioning properly, but the remote control still doesn’t work, it may be time to consider getting a new remote.
Determining if a new remote is needed
If your mini-split AC system’s remote control continues to have problems after replacing the batteries and ensuring the infrared sensor is clean and unobstructed, it may be necessary to purchase a new remote. Contact the manufacturer or authorized dealers to inquire about obtaining a replacement remote control that is compatible with your specific mini-split AC model. Provide them with the necessary information to ensure you receive the correct remote control for your system.
Problems with Mini-Split AC Modes
Troubleshooting issues with cooling mode
If you’re experiencing issues with the cooling mode of your mini-split AC system, there are a few troubleshooting steps you can take. First, check that the temperature setting is appropriately adjusted and that the system is not set to a temperature lower than the ambient temperature, as this can cause the system to cycle on and off frequently. Additionally, ensure that the air filters are clean and the outdoor unit is free from debris. If these steps don’t resolve the issue, it’s recommended to consult a professional HVAC technician for further diagnosis and repair.
Examining issues with heating mode
If your mini-split AC system is not heating your space effectively, there are a few factors to consider. Verify that the system is set to the heating mode and that the temperature is adjusted correctly. Ensure that the filters are clean and the outdoor unit is free from debris, as these can affect the system’s heating performance. If your mini-split AC system utilizes a heat pump, make sure the pump is functioning properly. If you’re still experiencing issues with the heating mode, it’s advisable to contact an HVAC professional for a thorough inspection and necessary repairs.
Inspecting the dehumidification mode
If the dehumidification mode of your mini-split AC system is not working as expected, there are a few things to check. Firstly, ensure that the system is set to the dehumidification mode and the desired humidity level is correctly adjusted. Examine the air filters and outdoor unit for any obstructions or dirt that may hinder the system’s dehumidification capabilities. If these steps don’t resolve the issue, it may be necessary to consult a professional to determine if there are any underlying problems with the system’s dehumidification function.
Problems with Mini-Split AC Sensors
Identifying issues with the room temperature sensor
The room temperature sensor in your mini-split AC system plays a crucial role in maintaining the desired temperature in your space. If you suspect that the sensor is malfunctioning, there are a few signs to look out for. Inconsistent temperature readings, frequent cycling of the system, or the system not reaching the desired temperature can all indicate a problem with the room temperature sensor. In such cases, it’s recommended to consult a professional HVAC technician who can diagnose the specific issue and provide the necessary repairs or sensor replacement.
Fixing problems with the coil temperature sensor
The coil temperature sensor in your mini-split AC system monitors the temperature of the evaporator coil to ensure efficient cooling operation. If you’re experiencing issues with your system’s cooling performance, it’s possible that the coil temperature sensor is faulty. A malfunctioning coil temperature sensor can cause the system to either overcool or undercool your space. In either case, it’s best to contact a professional HVAC technician to assess the situation and determine if the sensor needs to be repaired or replaced.
Checking the outdoor temperature sensor
The outdoor temperature sensor in your mini-split AC system helps regulate the operation of the system based on the outdoor temperature. If you suspect that the outdoor temperature sensor is not functioning correctly, there are a few signs to watch for. Inaccurate temperature readings on the system’s display, inconsistent system operation in relation to the outdoor temperature, or cooling/heating issues can all indicate a problem with the outdoor temperature sensor. To address this problem, it’s recommended to consult an HVAC professional who can properly diagnose and resolve the issue with the sensor.
Professional Help for Mini-Split AC Problems
Knowing when to contact a professional
While many issues with mini-split AC systems can be resolved through basic troubleshooting, there are instances when it’s best to contact a professional for assistance. If you’re unsure about the cause of a problem, lack the necessary knowledge or tools to fix it yourself, or if the issue persists despite your best efforts, it’s advisable to seek the help of an HVAC professional. They have the expertise and experience to diagnose complex problems, perform repairs safely, and ensure the optimal functioning of your mini-split AC system.
Choosing a reliable HVAC professional
When selecting an HVAC professional to address your mini-split AC system issues, it’s essential to choose a reliable and experienced technician. Look for professionals who are licensed and insured, as this ensures they have the necessary qualifications and protection in case of any accidents or damages during the repair process. Ask for recommendations from family, friends, or neighbors who have used HVAC services in the past. Additionally, research reviews and ratings online to gain further insight into the reputation and reliability of the professionals you’re considering.
Understanding warranty and service options
Before contacting a professional for mini-split AC system repairs, it’s important to understand your warranty and service options. Check the warranty provided by the manufacturer to see if the specific problem you’re experiencing is covered. Some warranties require that repairs are performed by authorized technicians to maintain coverage, while others may offer specific service packages or extended warranties. Familiarize yourself with these options to ensure you make the most informed decision regarding repairs and minimize any out-of-pocket expenses.
In conclusion, understanding your mini-split AC system is essential in troubleshooting and resolving common problems. By familiarizing yourself with the various parts, functionalities, and troubleshooting steps, you can effectively address issues such as the system not starting, inefficient cooling, water leaks, odd noises, excessive dust, remote control malfunctions, mode problems, sensor issues, and more. While basic troubleshooting steps can often resolve minor issues, it’s essential to know when to seek professional help to ensure the long-term performance and reliability of your mini-split AC system.