
Title: Best Ways to Seal and Insulate the Installation Area for a Mini Split AC
When it comes to achieving optimal comfort in our homes, the installation of a mini-split air conditioning system can be a game changer. These sleek, efficient units provide a refreshing escape from the sweltering heat, all while conserving energy and enhancing indoor air quality. However, to unlock their full potential, proper sealing and insulation of the installation area is essential. Poor sealing can lead to air leaks, wasted energy, and increased utility bills, defeating the purpose of this innovative cooling solution. In this article, we will explore the best practices for effectively sealing and insulating the installation space for your mini-split AC, ensuring that you can enjoy cool, comfortable air without compromise. From identifying potential vulnerabilities to practical sealing techniques, our guide will arm you with the knowledge to create a perfectly insulated haven that maximizes efficiency and minimizes costs. Let’s dive in!
Understanding the Importance of Sealing and Insulating Mini Split Installations
Proper sealing and insulation are essential steps that significantly enhance the efficiency of mini split installations. When these air conditioning systems are not installed with care, conditioned air can easily escape, leading to wasted energy and reduced performance. By ensuring that the installation area is properly sealed, you can maintain optimal airflow and temperature control within your space. This not only helps in achieving the desired indoor climate but also reduces wear and tear on the unit, ultimately extending its lifespan. Key areas that require attention include:
- Wall Penetrations: Ensure gaps around refrigerant lines and electrical conduits are tightly sealed.
- Junction Boxes: Use gaskets or sealant on electrical junction boxes to prevent air leakage.
- Insulation: Proper insulation around refrigerant lines helps maintain temperature and increases efficiency.
Besides energy efficiency, sealing and insulating a mini split installation can have a profound effect on comfort levels within the home. Without adequate insulation, outside air can infiltrate the space, undermining the unit’s ability to cool or heat effectively. This can lead to discomfort and inflated utility bills. To provide a visual guide, consider the following table that compares the benefits of insulated versus non-insulated installations:
| Feature | Insulated Installation | Non-Insulated Installation |
|---|---|---|
| Energy Efficiency | High | Low |
| Comfort Levels | Consistent | Variable |
| Annual Utility Cost | Lower | Higher |
| Unit Longevity | Extended | Reduced |
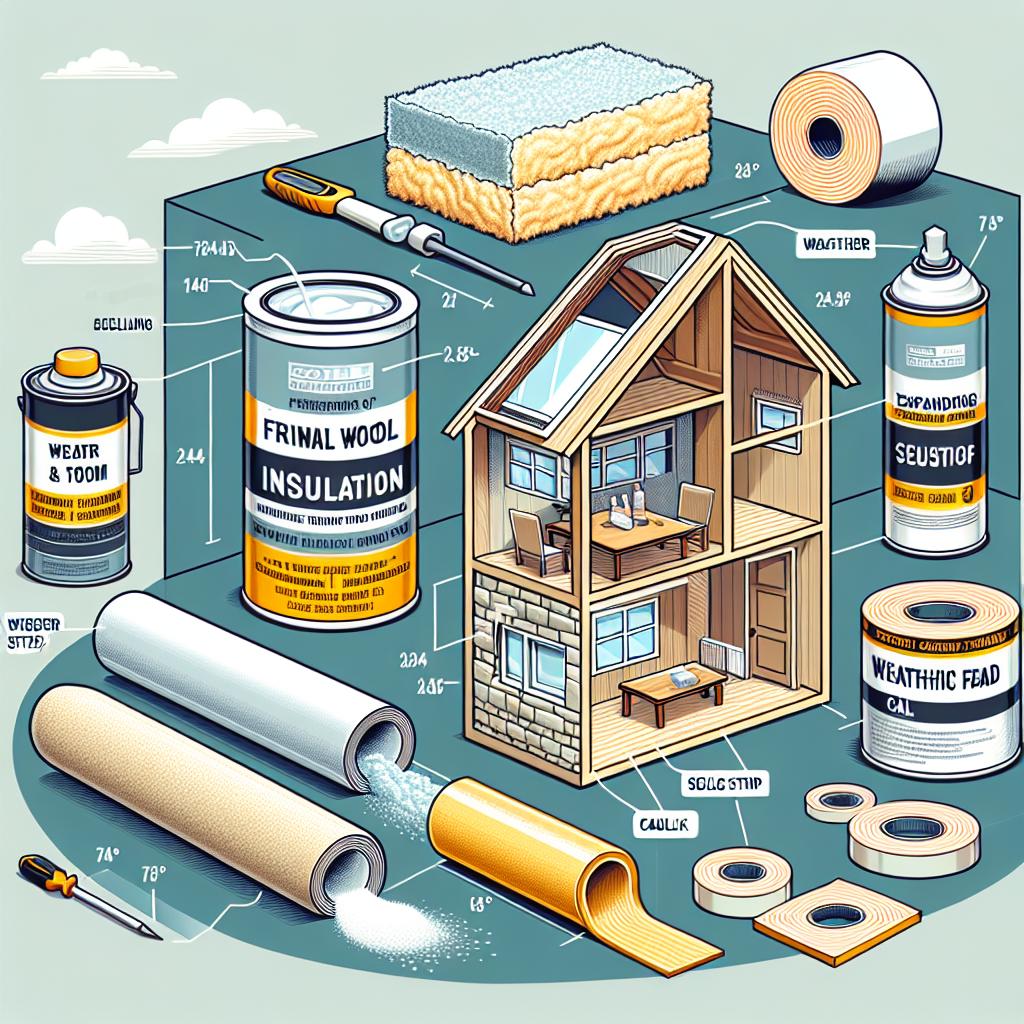
Essential Materials for Effective Insulation and Sealing
To ensure optimal performance and energy efficiency for your mini split AC, using the right materials to seal and insulate the installation area is crucial. Insulation foam is a popular choice as it provides superior thermal resistance and can easily be applied around pipes and ducts. This material minimizes energy loss and prevents moisture intrusion, which can lead to mold growth. Additionally, acoustic sealant is ideal for filling gaps around the unit, providing both insulation and reducing noise transmission. Other effective options include reflective foil for added thermal resistance and weatherstripping, which can seal doors and windows around the installation area to improve overall energy efficiency.
When gathering materials, consider the following essentials:
- Foam Board Insulation: Offers excellent R-value and can be cut to fit spaces.
- Mineral Wool: Provides fire resistance along with great sound absorption properties.
- Flexible Duct Insulation: Ideal for insulating flexible ductwork while maintaining airflow efficiency.
- Vapor Barriers: Prevent moisture damage and protect your insulated areas.
It’s important to select high-quality materials to ensure longevity and effectiveness. Proper installation techniques combined with these materials will result in a well-sealed and insulated mini split AC installation area, enhancing the comfort of your space while reducing energy costs.

Step-by-Step Guide to Properly Seal Installation Areas
To ensure optimal performance of your mini-split air conditioner, it’s vital to properly seal the installation areas. Start by inspecting the area where the indoor and outdoor units will be installed. Look for any gaps or cracks that could allow air leaks, which can impede efficiency. Clean the surfaces thoroughly, removing dust and debris. Once the surfaces are ready, use high-quality caulk or foam sealant to fill in gaps between walls, and around pipes, ensuring a snug fit that minimizes energy loss. Additionally, make sure to insulate any refrigerant lines with insulation sleeves to further reduce heat transfer.
Moving on to the exterior installation, check the mounting bracket’s alignment to guarantee a secure and level attachment. If drilling is necessary, utilize weatherproof sealant around the holes to prevent moisture penetration and potential damage. It’s also beneficial to use a foam weatherstrip around the edges of the unit to create an additional barrier against drafts. To give you a better idea, consider the following table that summarizes essential sealing materials and their benefits:
| Material | Benefit |
|---|---|
| Caulk | Fill gaps and cracks for air-tightness |
| Foam Sealant | Expand to fit irregular spaces |
| Insulation Sleeves | Prevent heat transfer on refrigerant lines |
| Weatherproof Sealant | Protect against moisture infiltration |
| Foam Weatherstrip | Additional barrier against drafts |

Common Mistakes to Avoid When Insulating Mini Split Systems
When insulating mini split systems, it’s crucial to avoid several common pitfalls that can compromise efficiency and comfort. One of the most frequent mistakes is neglecting to properly seal the line set and electrical connections. Leaving gaps can lead to air infiltration, reducing the unit’s overall performance. Additionally, using the wrong type of insulation material can also hinder effectiveness. For instance, using standard foam tape instead of closed-cell insulation on refrigerant lines can result in condensation issues, potentially damaging your walls and affecting air quality.
Another mistake homeowners often make is overlooking the placement of insulation materials. Insulating only parts of the installation area without considering the entire space can lead to uneven temperature distribution. It’s essential to ensure all exposed surfaces, including the outdoor unit’s mounting area, are adequately insulated. Additionally, failing to check the manufacturer’s specifications can result in improper insulation thickness, which can drastically affect the unit’s performance. To avoid these pitfalls, make sure to:
- Seal all joints and gaps using appropriate materials.
- Use insulation recommended by the manufacturer specifically for mini split systems.
- Check local building codes to ensure compliance.
Q&A
Q&A: Best Ways to Seal and Insulate the Installation Area for a Mini Split AC
Q1: Why is sealing and insulating the installation area of my mini split AC so important?
A1: Sealing and insulating the area where you install your mini split AC is crucial for maximizing efficiency. A well-sealed space prevents unwanted air leaks, ensuring that the system effectively cools or heats your home without overworking itself. Proper insulation also helps maintain the desired temperature, reducing energy costs while extending the lifespan of your unit.
Q2: What are the common methods for sealing the installation area?
A2: There are several effective methods for sealing the installation area. First, consider caulking around any gaps or cracks where the indoor and outdoor units meet the wall. Expanding foam can fill larger openings. Additionally, using weather stripping on doors or windows near the installation site can significantly reduce air leakage. Lastly, ensure that any electrical lines or drainage pipes are properly sealed to prevent drafts.
Q3: How do I choose the right insulation for my mini split AC installation?
A3: Your choice of insulation will depend on your specific installation needs. Fiberglass insulation is popular for its affordability and effectiveness, particularly in walls and ceilings. Foam board insulation provides excellent thermal resistance, ideal for exterior walls. If you’re working in a tight space, consider spray foam insulation for its versatility and air-sealing properties. Always check local building codes and energy efficiency recommendations when selecting insulation.
Q4: Are there any best practices for installing insulation in the mini split AC area?
A4: Absolutely! When installing insulation, ensure that it fits snugly without any gaps to maximize thermal performance. Use a vapor barrier on the warm side of the insulation to prevent moisture buildup, which can lead to mold growth. If you’re insulating ductwork, consider using duct wrap insulation; it helps maintain the temperature of air as it travels through the ducts.
Q5: Can I undertake sealing and insulating my mini split AC installation myself, or should I hire a professional?
A5: While DIY sealing and insulating can be a rewarding and cost-effective approach, hiring a professional is advisable if you’re unsure or if the installation involves complex systems. Professionals can ensure that your unit is installed correctly and efficiently, providing peace of mind that the job meets building codes and is performed to a high standard.
Q6: What are the long-term benefits of properly sealing and insulating my mini split AC installation?
A6: Proper sealing and insulation lead to long-term benefits such as reduced energy bills, consistent temperature control, and increased comfort throughout your home. Additionally, a well-installed mini split system can experience fewer maintenance issues and a longer lifespan, ultimately enhancing your return on investment.
Q7: Are there any common mistakes to avoid during the sealing and insulating process?
A7: Yes, several common mistakes can hinder the sealing and insulating process. Avoid rushing through the caulking and sealing; any gaps left unaddressed can lead to air leaks. Also, be careful not to compress insulation too tightly, which can reduce its effectiveness. ensure you’re using the correct materials for your specific installation to prevent moisture problems or inefficiencies.
Q8: How often should I check the sealing and insulation of my mini split AC installation?
A8: It’s good practice to inspect the sealing and insulation of your mini split AC at least once a year, ideally before the cooling or heating season begins. Look for signs of wear, gaps that may have developed over time, and ensure that insulation remains intact. Regular maintenance checks help you catch issues early and maintain optimal performance.
Closing Remarks
properly sealing and insulating the installation area for your mini split AC is not just a matter of convenience—it’s an investment in comfort and efficiency. By taking the time to eliminate gaps, seal potential air leaks, and enhance insulation, you can significantly improve your system’s performance and longevity. Each step, from assessing your installation site to choosing the right materials, plays a crucial role in ensuring that your mini split operates at its best. With the right approach, you can create a perfectly conditioned oasis in your space, allowing you to enjoy the benefits of a well-functioning cooling system for years to come. So, embrace these best practices and transform your installation area into a fortress of comfort that stands up to the heat, come what may.