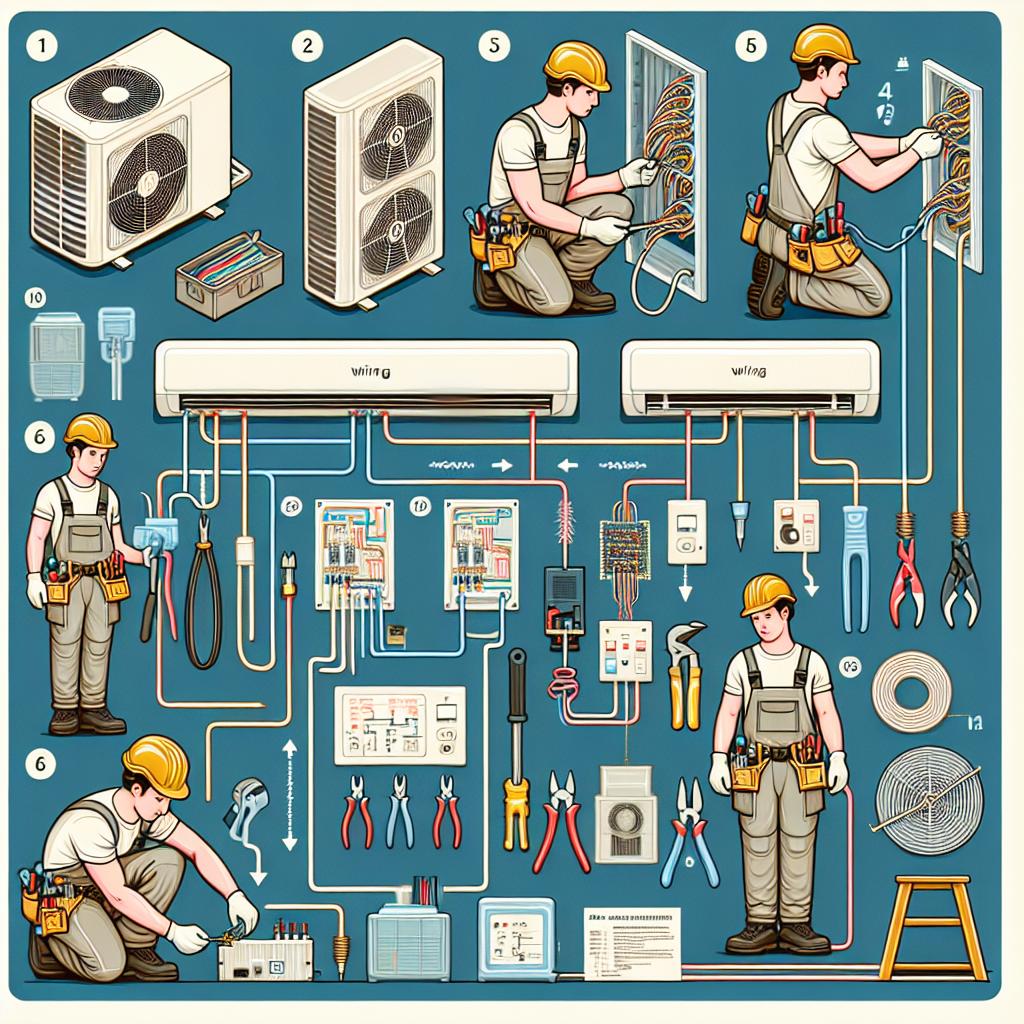
Are you ready to transform your space into a haven of comfort? Installing a mini split air conditioning system can effectively enhance your indoor climate, delivering precision cooling where you need it most. However, before reveling in that refreshing chill, there’s a crucial step that deserves your attention: the electrical wiring. This guide will take you through the essential steps of wiring for your mini split AC installation, breaking down the process into manageable segments. Whether you’re a seasoned DIY enthusiast or taking your first foray into home improvement, this step-by-step approach will equip you with the knowledge and confidence needed to tackle this important electrical task. Let’s delve into the world of wiring and unlock the door to a more comfortable living environment!
Understanding Mini Split AC Systems and Their Wiring Needs
Mini split AC systems are distinct in their design and operation, typically comprising an outdoor unit and one or more indoor air handlers. These systems are renowned for their energy efficiency and ability to provide targeted cooling or heating. They operate without ductwork, which not only simplifies installation but also reduces energy loss. Understanding the wiring needs of these systems is crucial as it ensures optimal performance and compliance with local electrical codes. Proper sizing of the electrical circuit is imperative, as using a circuit that is too small can lead to overheating and equipment damage.
When preparing for the installation, several components must be correctly wired to achieve a safe and efficient setup:
- Disconnect Switch: Installed near the outdoor unit to allow safe servicing.
- Line Voltage Wiring: Generally requires 240-volt power, properly sized to match the unit’s amperage requirements.
- Sizing and Circuit Breakers: Use a dedicated breaker to prevent circuit overloads.
- Thermostat Wiring: Ensure compatibility with the mini split’s control system for accurate temperature regulation.
Below is a simple overview of the typical wiring components as they relate to mini split systems:
| Component | Function |
|---|---|
| Outdoor Unit | Houses the compressor and fan; requires 240V wiring. |
| Indoor Units | Distributes cooled or heated air; operates on low-voltage control wiring. |
| Thermostat | Controls system operation; requires precise wiring for signal transmission. |
| Electrical Disconnect | Allows for safe shutdown during maintenance; essential for safety. |

Essential Tools and Materials for a Successful Installation
To ensure a seamless installation of your mini split AC unit, having the right tools and materials on hand is crucial. Begin your preparation by gathering essential tools including a drill for making precise holes, a screwdriver set for securing various components, and a level to guarantee your unit is mounted properly. You will also need wire cutters and strippers for handling electrical wiring, as well as a voltage tester to ensure safety during the process.
In addition to the tools, stock up on various materials required for the installation. This includes high-quality electrical wiring, which is essential for connecting the unit to your power supply. Don’t forget to acquire PVC conduit for protecting the wires, insulated connectors to secure connections, and mounting brackets for stable and safe unit installation. Having a detailed checklist can ensure that nothing vital is overlooked:
| Essential Items | Description |
|---|---|
| Drill | For making mounting holes |
| Screwdriver set | To secure the unit and connections |
| Voltage Tester | To check for live wires |
| Electrical Wiring | To connect the unit safely |
| Mounting Brackets | For proper installation alignment |

Step-by-Step Wiring Process for the Mini Split AC
When preparing for the installation of your mini split AC, it’s crucial to gather all necessary tools and materials. Before starting, ensure you have the following items on hand:
- Wire Strippers: Essential for stripping insulation off wires.
- Screwdriver Set: To secure electrical components.
- (Breaker) Panel: For connecting the mini split system to your home’s electrical supply.
- Electrical Tape: To insulate and secure wire connections.
- Multimeter: For checking electrical continuity.
Once your materials are ready, start by wiring the indoor and outdoor units. First, connect the wires from the outdoor unit to the breaker panel, making sure to follow the color codes provided in the manufacturer’s manual. Use the appropriate gauge of wire—typically ranging from 14 to 16 AWG—as dictated by the unit’s specifications. After that, ensure all wire connections are tightly secured and insulated with electrical tape. Next, run the wire through a conduit, protecting it from weather damage where applicable, and carefully connect the wire to the indoor unit. Check all connections with a multimeter to ensure everything is functioning correctly before powering on the unit.

Common Wiring Mistakes to Avoid for Efficient Operation
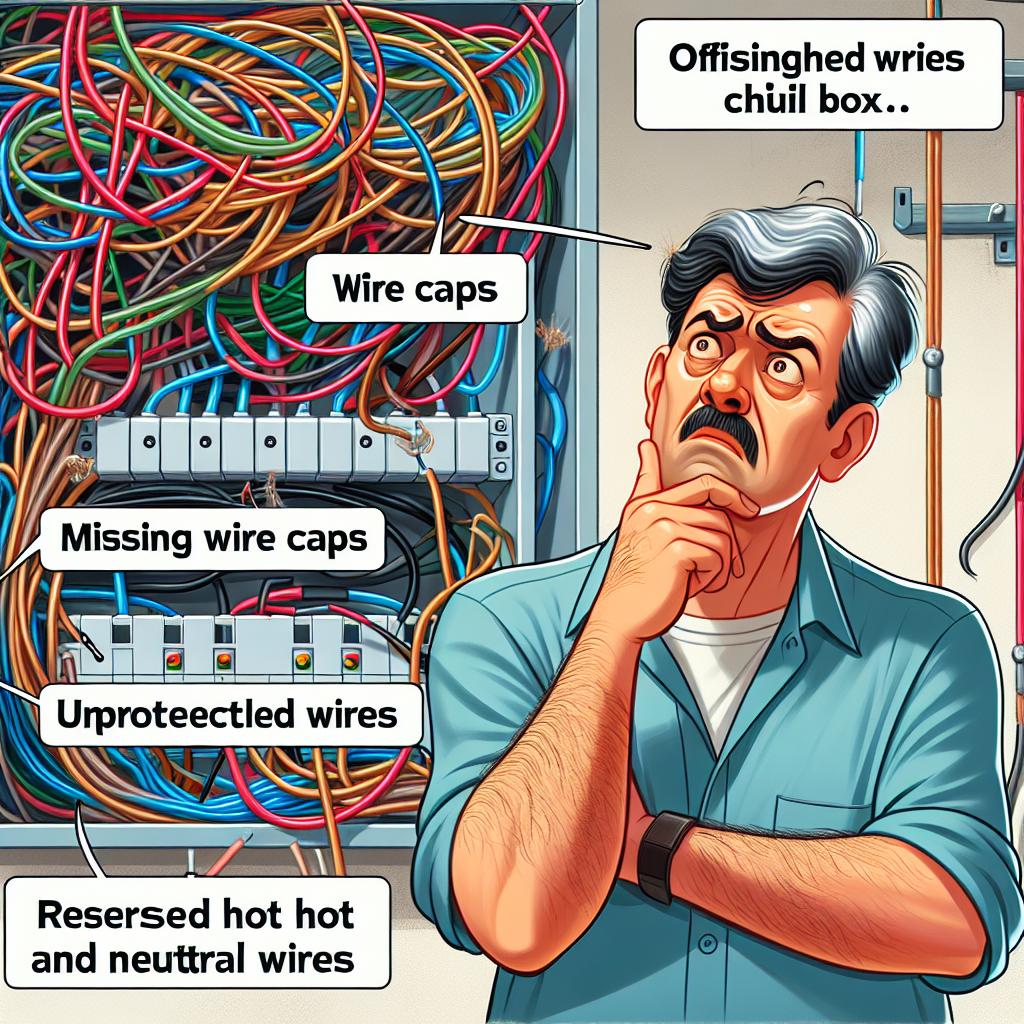
When embarking on the installation of a mini split AC, it’s crucial to be aware of common wiring pitfalls that can hinder efficiency and safety. One frequent mistake is neglecting the correct gauge of wire to handle the system’s electrical load. Using a wire that is either too thick or too thin can lead to overheating or inefficient operation. Ensure you consult the manufacturer’s specifications for wire gauge requirements. Additionally, incorrectly connecting wires can result in short circuits or equipment failure. Always double-check your connections to ensure polarity is maintained; a reversal can damage the unit or create hazards.
Another area often overlooked is the adequacy of the breaker size. Choosing the wrong circuit breaker can lead to nuisance tripping or, worse, an inability to shut off power during an emergency. It’s advisable to install a breaker that matches the amperage requirements specified in the installation manual. Moreover, failing to identify the grounding requirements can cause stability issues and even harm your thermostat if the unit gets struck by lightning. Always dedicate time to ensuring that your AC system is properly grounded to avoid potential hazards. Below is a quick reference table summarizing these points:
| Common Mistake | Impact | Solution |
|---|---|---|
| Incorrect wire gauge | Overheating or inefficiency | Follow manufacturer’s specifications |
| Wrong connections | Short circuits or damage | Ensure correct polarity |
| Improper breaker size | Nuisance tripping | Match with amperage requirements |
| Neglecting grounding | Stability issues | Ensure proper grounding |
Q&A
Q&A: Step-by-Step Guide to Electrical Wiring for Mini Split AC Installation
Q1: What is a mini split AC, and why choose it for my cooling needs?
A1: A mini split AC, also known as a ductless mini-split system, offers an efficient and flexible cooling solution without the need for extensive ductwork. It consists of an outdoor unit and one or more indoor blowers, allowing for targeted cooling and individual room control. Perfect for homes with unique layouts or for those seeking energy efficiency, it maximizes comfort while minimizing energy bills.
Q2: Is electrical wiring for mini split AC installation difficult?
A2: While the task requires careful attention and a basic understanding of electrical principles, it’s not insurmountable. By following a step-by-step guide and adhering to safety standards, even those with limited experience can successfully handle the wiring. However, caution is always recommended, and consulting a professional is advisable if unsure about any step.
Q3: What tools will I need for the installation process?
A3: To complete your mini split AC installation, you’ll typically need the following tools: a screwdriver set, wire strippers, a multimeter, electrical tape, a drill, and a level. Additionally, safety gear like gloves and goggles is wise to protect yourself during the installation.
Q4: Are there any safety precautions I should be aware of?
A4: Absolutely! Safety should always be your number one priority. Make sure to turn off the electrical power to the area where you’ll be working. Wear gloves and goggles to protect against electrical shocks and debris, and ensure you’re using the right tools for the job to avoid accidents.
Q5: What are the essential steps in the electrical wiring process?
A5: The installation can be broken down into several key steps:
- Turn off the power supply.
- Select an appropriate location for the indoor and outdoor units.
- Plan and run the electrical wiring, ensuring it meets local code requirements.
- Connect the indoor unit wires to the designated terminals, following the manufacturer’s diagram.
- Run the wire from the indoor unit to the outdoor unit, maintaining proper distances and protections.
- Wiring the outdoor unit by connecting it to the power supply and ensuring all connections are tight and secure.
- Restore power and test the system to ensure everything operates correctly.
Q6: How do I determine the right electrical specifications for my mini split system?
A6: To determine the correct specifications, refer to the manufacturer’s instructions, typically found in the installation manual. Important factors include voltage requirements, circuit breaker sizes, and amperage ratings. This information ensures that your electrical system is equipped to handle the new load without risking overload or damage.
Q7: Do I need a permit for electrical wiring during mini split AC installation?
A7: It’s often required to obtain a permit for electrical work to comply with local building codes. Check with your local authorities to understand specific requirements in your area, as failing to do so can lead to fines or complications during inspections.
Q8: Can I install a mini split AC on my own, or should I hire a professional?
A8: While many DIY enthusiasts may succeed with mini split installation, hiring a professional is advisable for those unfamiliar with electrical systems or HVAC units. Professionals not only ensure safety and compliance with regulations but also provide peace of mind and guarantee that the system operates efficiently from day one.
Q9: What maintenance should I perform after installation?
A9: Post-installation, keep your mini split AC running smoothly by regularly cleaning or replacing the filters, inspecting the outdoor unit for debris, and checking for any noticeable wear on electrical connections. Scheduling yearly maintenance with a professional can also ensure long-term performance and efficiency.
Q10: Where can I find additional resources or support during my DIY installation?
A10: Various resources are available, from detailed online video tutorials to forums dedicated to DIY HVAC installations. Manufacturer websites often provide downloadable manuals, and local home improvement stores may have knowledgeable staff ready to assist. Always feel free to reach out to professionals if you need specific advice or run into challenges!
Key Takeaways
embarking on the journey of installing a mini split AC can be both a rewarding and efficient endeavor, especially when equipped with the right knowledge and tools. By following this step-by-step guide, you not only simplify a potentially daunting task but also empower yourself with the skills to enhance your home’s comfort. Remember, safety should always be your top priority, and when in doubt, consulting a professional can save you time and ensure the longevity of your installation. As the warm days approach, your new mini split AC will be a testament to your hard work and a sanctuary from the heat. Embrace the satisfaction of a job well done, and enjoy the fresh, cool air that awaits!

