As summer temperatures soar and humidity levels climb, the quest for a cool sanctuary becomes paramount. Enter the mini-split air conditioning system: a sleek, efficient solution for homeowners looking to optimize their indoor climate. While the benefits of mini splits are undeniable, the key to unlocking their full potential lies in proper installation. But what exactly does that process entail? In this article, we will explore the essential steps for a successful mini-split AC installation, guiding you through everything from initial planning and selection to final setup and maintenance tips. Whether you’re a DIY enthusiast or considering enlisting professional help, understanding these crucial steps can ensure your mini-split operates at peak efficiency, keeping you comfortable for seasons to come. Let’s dive in and discover how to transform your living space into a refreshing retreat, one step at a time.
Essential Preparations for Mini Split AC Installation
Before diving into the installation of a mini split AC system, it’s crucial to conduct a thorough assessment of your home’s requirements. Begin by choosing the optimal location for your indoor and outdoor units, ensuring they can efficiently circulate air throughout the space. Key factors to consider include:
- Room Size: Determine the cooling capacity needed based on the square footage.
- Sun Exposure: Take note of windows and their sun exposure, as this influences heat gain.
- Airflow Path: Identify any obstacles that could disrupt airflow, such as furniture or walls.
Once the locations are decided, gather all necessary tools and materials for a seamless installation. This includes not just the AC units and refrigerant lines but also additional components you may need. Below is a checklist to help you get organized:
| Tool/Material | Purpose |
|---|---|
| Drill | To create mounting holes |
| Refrigerant | To charge the system |
| Sealant | To ensure airtight connections |
| Level | To ensure units are properly aligned |
| Measuring Tape | For accurate spacing and placement |
Choosing the Right Location for Optimal Performance
When installing a mini split AC, selecting the appropriate location is crucial for ensuring its efficiency and longevity. Here are some key considerations to keep in mind:
- Indoor Unit Placement: Choose a spot that allows for optimal airflow. Avoid placing it near obstructions like furniture or curtains that could impede air circulation.
- Outdoor Unit Location: Position the outdoor unit in a shaded area to minimize the impact of direct sunlight, which can strain the system. Ensure there’s enough clearance around it for maintenance and airflow.
Additionally, the overall layout of your space will influence your decision. Consider the following factors:
- Distance Between Units: The longer the refrigerant lines, the less efficient the system becomes. Aim for the shortest run possible while still adhering to installation guidelines.
- Noise Considerations: Keep the outdoor unit away from bedrooms and living areas to reduce noise disruption.

Guidelines for Efficient Electrical and Ductwork Setup
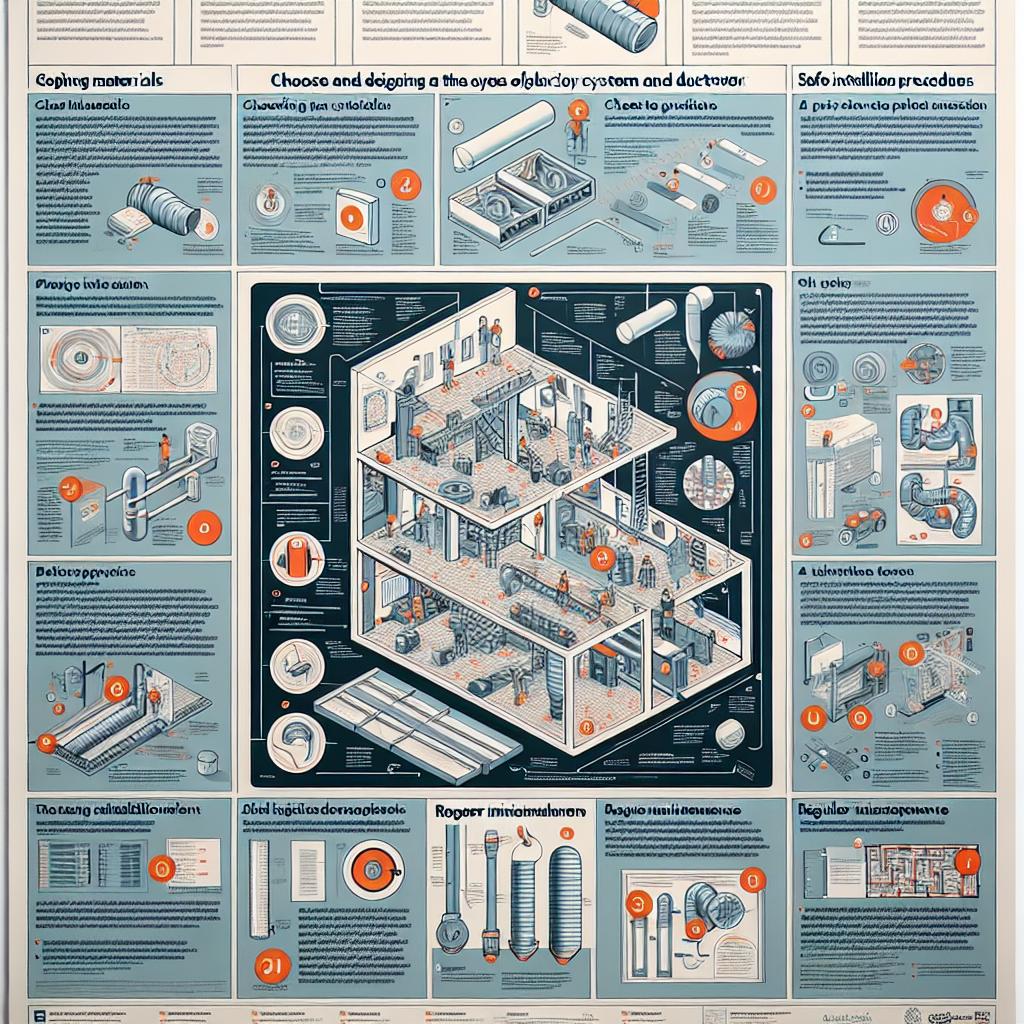
To ensure a smooth and efficient installation of your mini split AC, it’s imperative to focus on precise electrical and ductwork configurations. **Start by assessing the electrical load** requirements, making sure the dedicated circuit meets the amperage demand of the system. Utilize a circuit breaker that aligns with the manufacturer’s specifications, and ensure that wiring is properly insulated to prevent any hazards. **Consider optimal locations for line sets** and ductless units to minimize the length of refrigerant lines; this can enhance efficiency and performance while reducing the potential for refrigerant leaks.
When it comes to ductwork, the connection must be secure and well insulated. **Use high-quality materials** that are capable of withstanding varying temperatures and pressures. Pay close attention to airflow by ensuring the ducts are properly sized for the system in question. Any obstruction or misalignment can lead to inefficiencies and higher energy consumption. Lastly, **coordinate with HVAC professionals** to achieve compliance with local codes and standards. Keeping track of these details will not only facilitate a successful installation but also promote longevity and effectiveness of your mini split system.

Post-Installation Checklist for Longevity and Maintenance
Once your mini split AC is installed, taking the time to conduct a thorough checklist ensures its longevity and consistent performance. Start by carefully inspecting the installation area for any signs of potential issues, such as moisture accumulation or debris around the unit. Verify that all connections, including electrical and refrigerant lines, are tightly secured. Regular check-ins on air filters are essential; they should be cleaned or replaced every one to three months to maintain optimal airflow and energy efficiency. Moreover, making sure that the exterior unit remains clear of obstacles like branches or debris will help facilitate unrestricted airflow, which is crucial for proper functioning.
Another important aspect of upkeep involves scheduling regular professional maintenance checks, typically on an annual basis. Technicians can address any underlying issues you might miss, such as refrigerant leaks or system malfunctions. Keeping an eye on your system’s performance metrics will alert you to any irregularities that might signify a problem. Use the table below to track important maintenance reminders and replacement timelines for components:
| Component | Maintenance Frequency | Action |
|---|---|---|
| Air Filters | Every 1-3 months | Clean/Replace |
| Refrigerant Levels | Annually | Check |
| Condensate Drain | Annually | Clear |
| Electrical Connections | Annually | Inspect |
Q&A
Q&A: What Are the Key Steps for a Successful Mini Split AC Installation?
Q1: What is a mini split AC system and why would someone choose it?
A1: A mini split AC system is a type of air conditioning system that consists of two main components: an outdoor unit and one or more indoor units. This system is preferred by many because it offers flexibility, energy efficiency, and is easier to install than traditional central air systems. Additionally, it allows for zoning, meaning you can control the temperature in different rooms independently.
Q2: What are the first steps to take before starting the installation?
A2: Before diving into installation, there are a few essential steps to consider. First, assess your space to determine the optimal locations for the indoor and outdoor units, keeping in mind factors like accessibility, clearance, and aesthetics. Next, calculate the cooling capacity needed for your space to ensure you choose a system that meets your requirements efficiently. gather all necessary tools and materials to streamline the installation process.
Q3: How do you ensure the proper placement of the indoor units?
A3: Proper placement of the indoor units is crucial for optimal performance. Aim to install the indoor unit high on a wall to allow for better airflow, ensuring it is away from obstructions like furniture or curtains. Ideally, position it in a central location to evenly distribute cool air throughout the room. Avoid placing the unit near direct sunlight or heat sources, which can affect its efficiency.
Q4: What is involved in mounting the outdoor unit?
A4: Mounting the outdoor unit requires a solid, level base that can support the weight of the unit and withstand outdoor conditions. Securely install a mounting bracket or pedestal above ground level, ensuring it’s positioned in a well-ventilated area to avoid overheating. It’s also imperative to keep the unit away from debris or obstructions that may block airflow.
Q5: What about the refrigerant lines and electrical connections?
A5: Connecting the refrigerant lines and electrical connections is a critical step and should be done with precision. Use insulated copper piping for the refrigerant lines to maintain efficiency. Ensure all connections are sealed tightly to prevent leaks. As for electrical connections, follow local codes and guidelines, ensuring the power supply matches the specifications of your mini split AC system. If you’re uncertain, hiring a licensed electrician can provide peace of mind.
Q6: Is there a specific way to test the system after installation?
A6: Yes, testing your mini split AC system after installation is essential to ensure everything operates smoothly. Start by checking all connections for leaks and ensuring the units are level. Next, turn on the system and allow it to run in both cooling and heating modes (if applicable) to confirm its functionality. Monitor the airflow and temperature in each room to ensure the system is delivering the expected performance.
Q7: What maintenance steps should be followed post-installation?
A7: After installation, regular maintenance is key to prolonging the life of your mini split AC system. This includes cleaning or replacing the air filters every few months, inspecting and cleaning the coils, and ensuring the condensate drain is clear. It’s also advisable to schedule annual professional maintenance checks to address any potential issues and to optimize system performance.
Q8: Are there any common pitfalls to avoid during installation?
A8: Yes, several common pitfalls can occur during mini split AC installations. Avoid overestimating the cooling capacity, as an oversized unit can lead to inefficiency and humidity issues. Additionally, neglecting proper insulation for the refrigerant lines can cause energy losses. Lastly, ensure all connections are secure and free of leaks before finalizing the installation to avoid costly repairs later on.
By following these key steps and avoiding common pitfalls, you can successfully install a mini split AC system that keeps your space cool and comfortable throughout the warm months.
The Way Forward
As we draw the curtains on our exploration of successful mini-split AC installation, it’s clear that this process goes beyond merely setting up a unit—it’s about crafting a comfortable oasis within your living space. From meticulous planning and site assessment to the final touches of fine-tuning the system, each step plays a critical role in ensuring optimal performance and longevity. By following the key steps outlined in this guide, you’re not just installing an air conditioning system; you’re investing in a reliable, energy-efficient solution that will keep your environment pleasantly cool for years to come. So gear up, gather your tools, or consult the pros, and take pride in transforming your home into a haven of comfort, no matter the season. Happy cooling!

